Friday, August 18, 2017

"Summer Feelings" Embossed Feather Card for Cherish the Memory

A Chic Boho Styled Thank You Card 


Designing this card was SO fun! 

I absolutely love feathers, so when I saw that there was more to the "Summer Feelings" collection than the beach and seashells, I was so excited! Along with the gorgeous pack of paper that I got to play with, was a floral feathered steel die, which created such a beautiful cut, that it left me in awe of the detail it added to my card.


First, I would like to talk about the embossing part of my card. I used black and green glitter embossing powder and used a doily style stencil by Prima Marketing to create the background. I am a sucker for contrast, so I am a big believer in visually attaching the background to the components that will be adorning the card, in this case, the black feather and the dream catcher featured in the card that comes with the Summer Feelings collection. Needless to say, I was pleased that the green glittered embossing powder really stood out against the black powder. Experiment with mixing embossing powders! 


Next, I would like to talk about this incredible die! Available from Cherish the Memory which I will link to at the end of my post. I really wanted to create contrast, but not compete with the dark feather elements, so I used the die to use with matching wood paper from the paper pad from Cherish the Memory. I loved the subtle, yet noticeable delicateness of the die against a lighter background using again, paper from the generous 6x6 paper pad from the collection. This floral feathered die, will definitely become one of my favorite, and versatile dies! It was essential in giving this card, the "chic boho" style.


After working with these collections for a while, I have to say one of my favorite parts is the beautiful sentiments that come with the collection. I used dark colored leather cording with beading to attach the tag to the card, to match the construction of the attached feathers to the dream catcher in the focal picture.


Lastly, what I love the most about this card was the layout and organization of the embellishments. Placing the elements in a card can be quite the challenge when you want to make all the beautiful details the focal point! This was a vital decision when playing with the placement of the feather. I placed the feather in a spot that connected the focal point (the image of the dreamcatcher) to create flow towards the sentiment. I really enjoyed the earthy tones of browns and greens in this card. 

A few more closeups : 

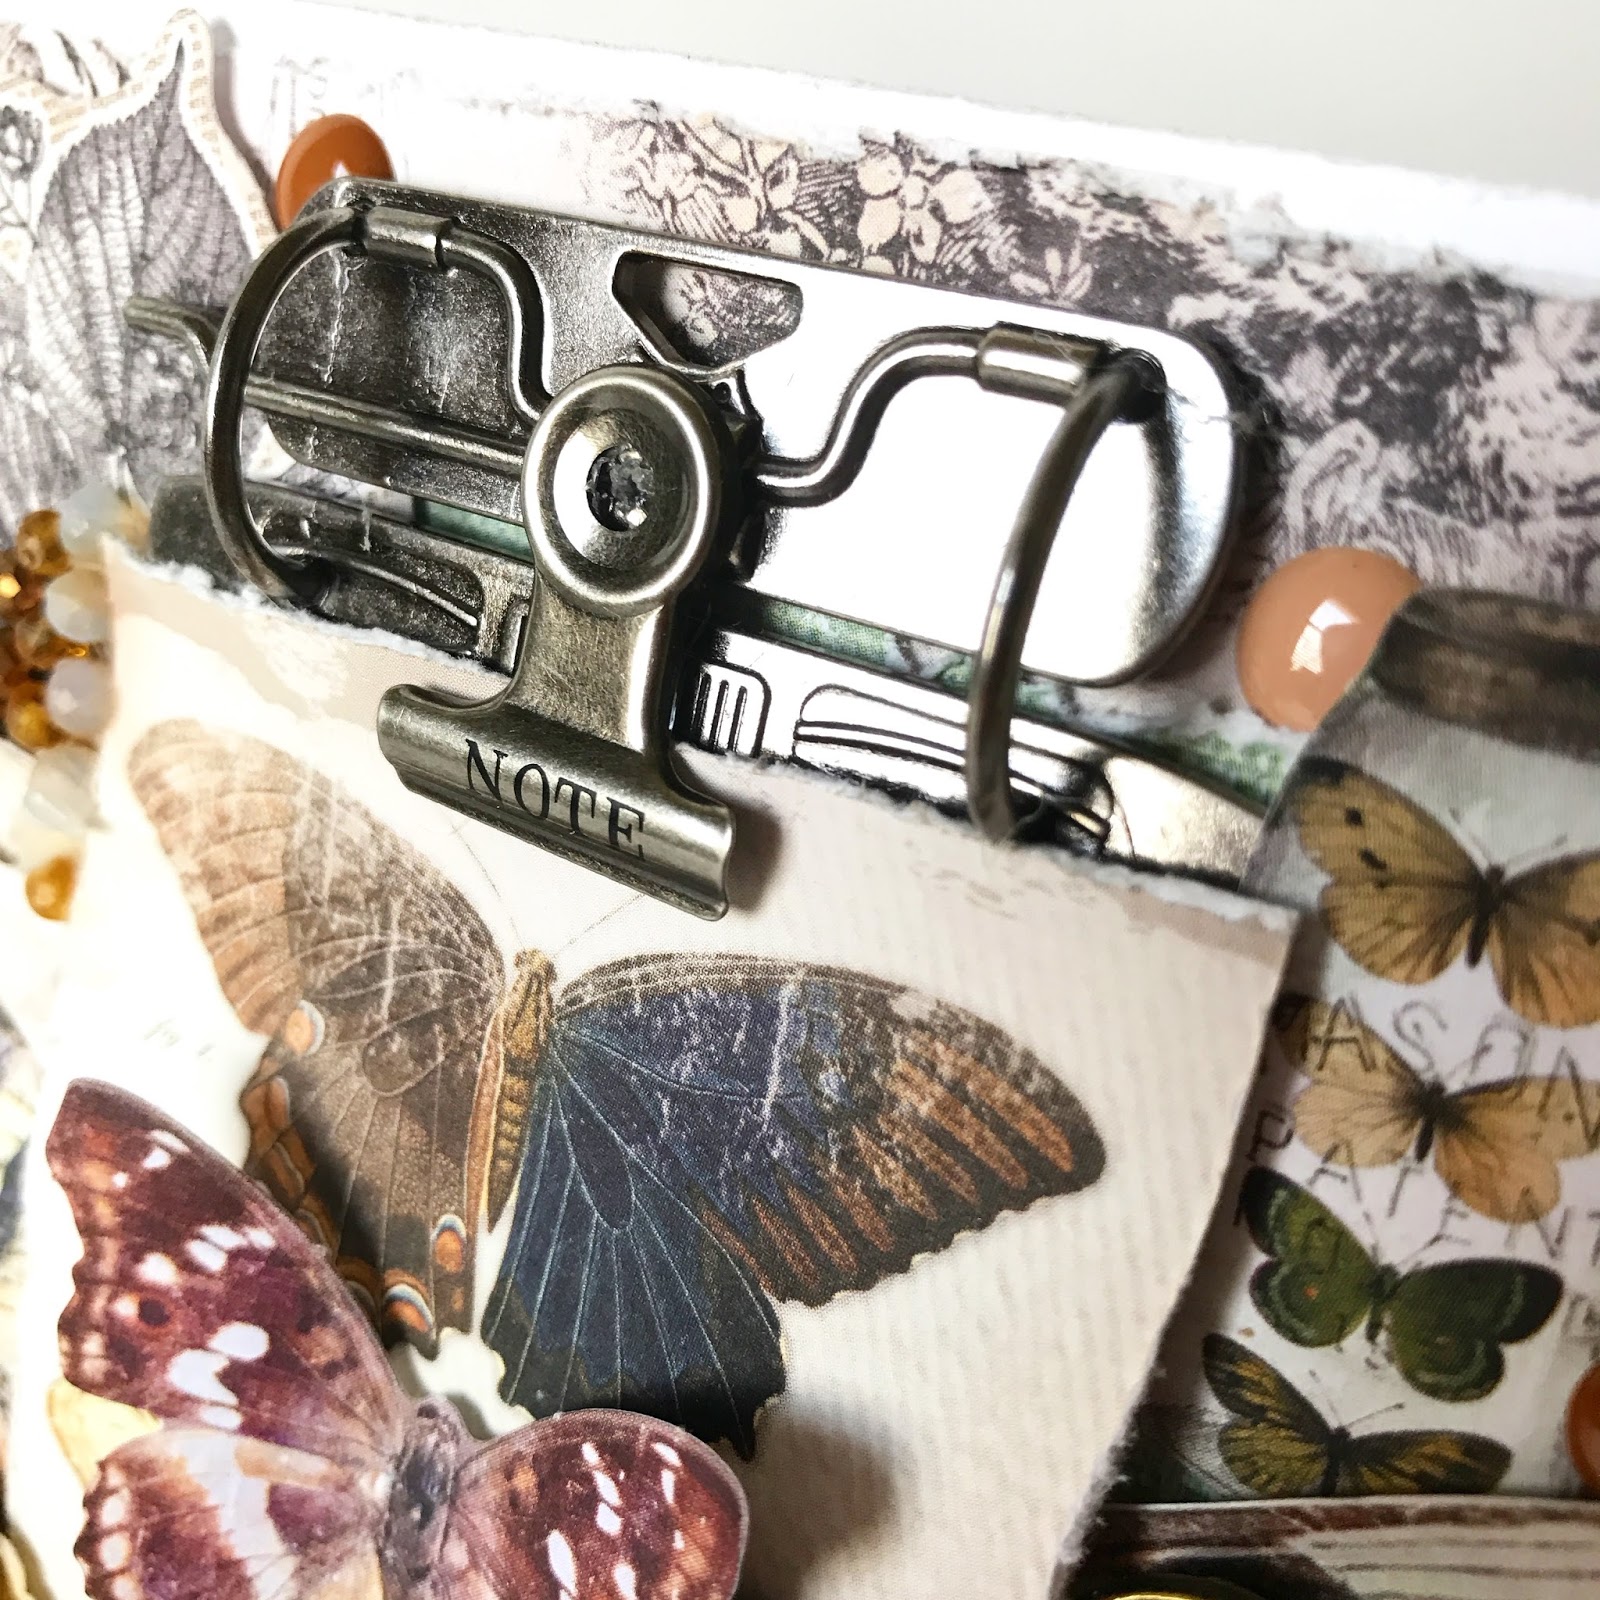
Note the hidden gem. The more you look the more you see! These are placed around the card.

A little bit of dimension goes a long way!


I hope you enjoyed viewing my card!

Here are some of the materials I used from Cherish the Memory Etsy Store :
Click on the image to be taken to the Etsy listing for purchase.

https://www.etsy.com/listing/542493693/summer-feelings-f48-easy-embossing-and?ref=shop_home_active_17

https://www.etsy.com/listing/529612138/empheria-studio-light-easys565-summer?ref=shop_home_active_22

https://www.etsy.com/listing/529658590/summer-feelings-ppsf54-15-x-15cm-paper?ref=shop_home_active_12

https://www.etsy.com/listing/535196866/studio-light-summer-feelings-delux?ref=shop_home_active_11

Friday, August 11, 2017

"Summer Feelings" Tag for Cherish the Memory

A Mixed Media Tag Tutorial


Here are the items I used from Cherish the Memory's Etsy store to create this tag! Click on the image to be directed to the listing.

 Summer Feelings Deluxe Kit

 Summer Feelings Paper Pad

 Summer Feelings Die Cuts

Tutorial 

You will need:

Foam Tape
Double sided tape or glue of your choice
Transparent Gel Medium
Scissors 
Paper Distress Tool (Optional, Scissors can be used as well)
Mesh or Cheesecloth
Decorative Beads
Flat backed Gems or Rhinestone Embellishments
 Glue Gun


Take a large tag and trace the tag on your desired background choice using the Summer Feelings Paper Pad. The Paper Pad is full of background choices, this aged wooden teal background is gorgeous, and was the premise of the color choices for this tag.


This pearl design paper can be found in the Paper Pad as well and is cut down to expose the background paper. The key to a dimensional tag is layering, so to achieve this, I chose a 2nd layer that would contrast the background layer (while leaving space for the ribbon hole) and serve as a neutral background for our die cuts.


Punch out your desired die cuts (link listed above) and play around with your focal point. I personally like to go for the foliage first, to create a natural background and tie in the mesh/cheesecloth. Here you can see that I chose to build a focal point on the right side of the tag to balance out the beautifully printed image on the left side.


Take your glue gun and place dots where you would like the mesh to spread about after you have decided where to place the die cuts.


Feel free to play around with layering the die cuts before gluing any of the major elements down. This is usually the most time consuming aspect of the project for me, so make sure to take your time! I love moving things around and exploring different positions until I am satisfied with the balance of the overall design. It is helpful to remember your main focal point, so that the eye of the viewer is guided throughout the precious elements.


At this stage, have your layout determined and start playing with any embellishments you have chosen to use. Embellishments can be just as important as the paper elements in creating depth. I love to hide embellishments underneath the die cuts so that they can "peek" through the layers to add an interesting dynamic so that the longer you look at the tag, the more you may discover!

I decided to use flat backed pearl embellishments to go along with the pearls in the paper so that the dimensional elements can tie into the background.


Choose your beaded elements and start gluing them as you go with gluing your paper die cut elements. I like to use the mesh/cheesecloth to sort of nestle the beads into while using my glue gun.

I used a Tim Holtz chat sticker to label my tag towards the bottom (optional).
This mixed media tag was a delight to create. All it really takes is some extra elements, layering and having a theme/matching kit to pull it all together makes this tag look complex, while it really isn't.

I hope you enjoyed my tutorial! Please check out my close ups below to see more details.


My tag is available for purchase on my Etsy store! Purchase here

Thursday, August 3, 2017

Botanical Garden Butterfly Card for Cherish the Memory


"Life is about creating yourself"


I made this card using the Botanical Garden collection! Available from Cherish the Memory

If you take a look at my previous post : Botanical Garden Reverse Canvas, you can see just how different this project is, even though it is using the same collection! 

In addition, I would like to add that this collection was perfect for me to use some of my Tim Holtz accessories which include the metal quote bar and film strip I used to highlight the look and feel I was going for in this card. My Prima Marketing flowers were also a hit with the color scheme! I am super pleased with how well the colors played with each other in this collection. 


The theme of collecting butterflies as specimens and recording them apparent in this collection, allowed me to use these clipboard style accessories for Time Holtz. Choosing to use them was a complete success! It well complimented the earthy vintage tones in the paper.


I love shredding the edges of the paper, to give it the old documented look. The beautiful browns and amber colors begged for some amber colored beads to be added.


"Life is about creating yourself"

As you can see in the picture above, I used twin from Cherish the Memory's store, which can be found here

I tucked in a small found item clock from my mixed media stash because I found it appropriate to the message the quote was expressing. I believe it takes us time to develop and create who we are, just the way it takes butterflies time to become the end product that they become. 


The film strip was just perfect for this strip of fussy cut butterflies at the bottom of the collection's layout pages! It worked out beautifully, framing them just right and making the colors in the background pop.


A side view reveals the layering I sought to achieve with this card. Unlike the level of dimension in the reverse canvas I made prior to the card, cards although limited in dimensional value, can still have dimension!


I hope you enjoyed my post! If you would like to check out this gorgeous collection, here is the link!
Designed for Cherish the Memory 


Botanical Garden Reverse Canvas for Cherish the Memory


The Botanical Garden paper collection available at Cherish the Memory was a real pleasure to work with in this project! The collection is full of birds, butterflies, and a real botanical treat of flowers and foliage.


Placing these butterflies was my favorite part because the options were endless! To make them stand out, I bent them at the center, to make the illusion that they were batting their wings ready to take off!


This bird's nest that I had been hoarding for a while was the perfect addition to this project from my stash to hold some plastic bird eggs I had leftover from Easter time and painted them with white acrylic paint to compliment the watchful birds on the right.

This project was my first reverse canvas, it taught me that it is definitely the perfect go to form aside from a shadow box that helps create dimension! It was also the perfect excuse to take this bird nest and fill it up with eggs. 

It really didn't take me as long to make this project because the paper was all gorgeous, and fussy cut friendly! The best part is, is that the collection has smaller precut paper pieces, which really makes using these paper bundles from Cherish the Memory very worth investing in if you are short on time! 


 The collection can be found at Cherish the Memory!


"Wrapped in Adventure" Layered Card for Cherish the Memory

Layers and Distressing  Using Studio Light's Paper Collection "Memories of Summer" Creating Layers Do you ever ...