Showing posts with label paper flowers. Show all posts

Monday, July 23, 2018

Tropical Summer themed Card for Cherish the Memory


 An Inspirational "Getaway" card
using Studio Light "Memories of Summer" Paper Collection


An Alternative to Post Cards


Most people send postcards from exotic places they are visiting when it comes to a tangible card form, but the reality is most of us nowadays use social media to share pictures of family at the pool or if you are travelling solo, pictures of your toes in the sand. Personally, the only time I have ever sent a postcard to someone is when they requested one, but I felt like it lacked something. Sure, it's perfect when you want something fast and simple to buy, but what if you were a crafter and wanted to make something a little more memorable? 

Cherish the Memory sells these fantastic 3D pre-die cut ephemera pieces that literally require just your hands to punch out! Meaning, you have the choice of bringing a few pages with you for some tropical crafting fun or a quick crafty make for when you come home from vacation, need some crafty time and or don't feel like unpacking just yet. The links to what you need to make this card is listed below.


Layering for Photos

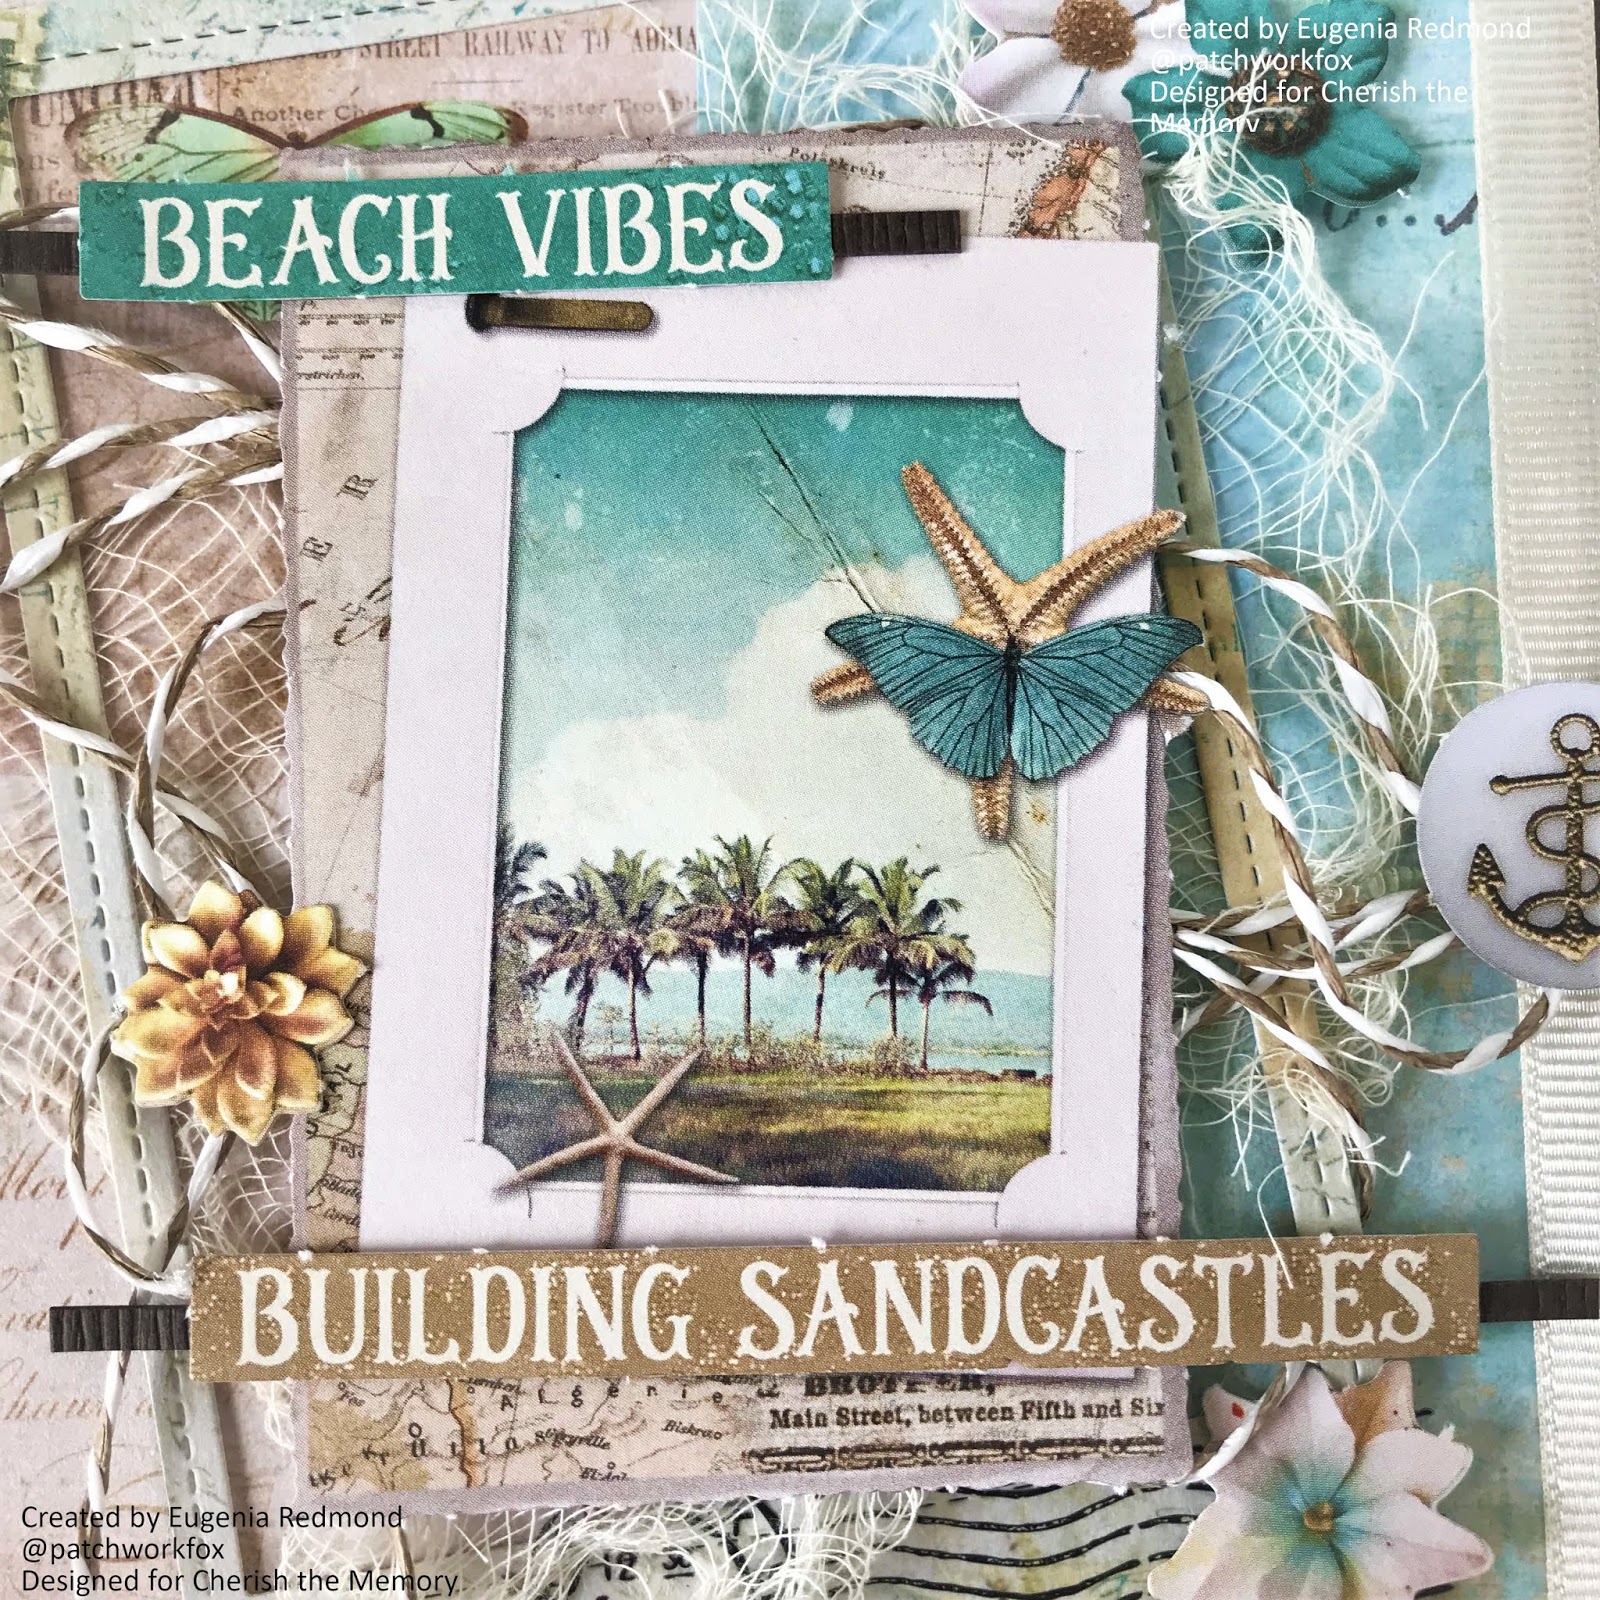
What I love most about these ephemera pages is that there's quite a variety of ephemera that resemble photographs, which you can easily use as a decorative item on your card or for an easy way to layer a real photo on top of, to create dimension. I particularly liked the "Building Sandcastles" sentiment, because it brought me back memories of my childhood where my mom bought my sister and I pails and shovels to use on the sand at the beach...perfect for when you have photos of some fun in the sand!


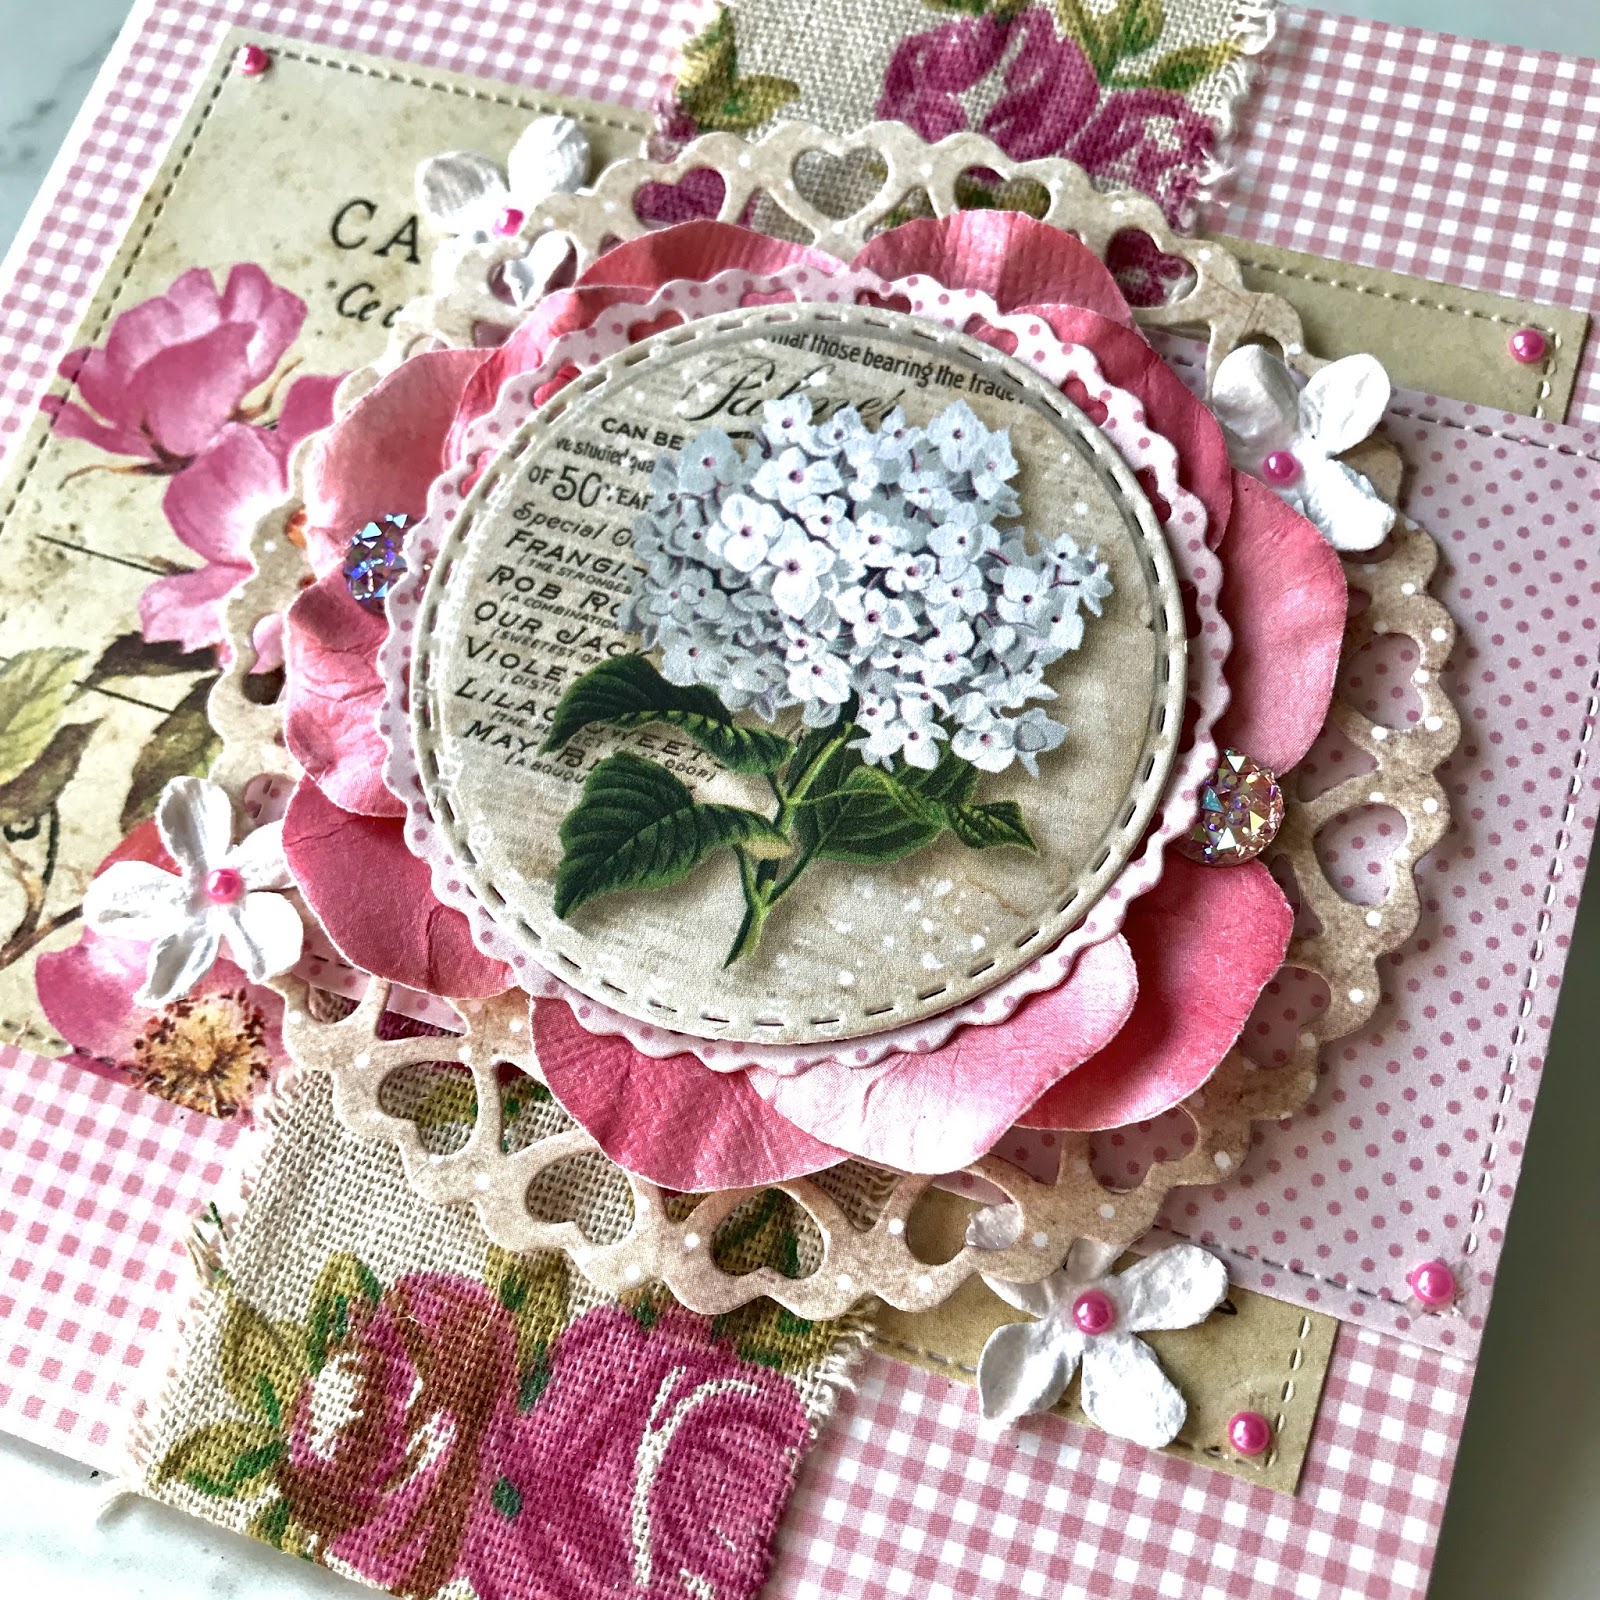
Last not but not least, the flowers. There is a generous assortment of die cut flowers to choose from and these were particularly lovely as they were of the tropical kind! A great way to add a tropical or feminine touch to any card depending on how many you choose to use. There is no limit!

I hope you have enjoyed my post. The links to these Studio Light papers are linked below!

Cherish the Memory Store


Wednesday, May 30, 2018

Shaker Bells and my Gorgeous Roses Canvas


Welcome to another post!

Thank you so much for visiting. If you have an Instagram account, please make sure you are following my account @patchworkfox for pictures of my work in progress and sneak peaks of what I will be posting!

This canvas, on the bottom left, was so hard to mail! I had become really attached to the canvas emotionally, but I'm sure that happens to most as I worked very hard on it. Does that happen with you? If you would like to see the tutorials for these two, leave a comment below!

I saw this quote earlier, shared by a dear friend and I wanted to share it with you, as it has been a quote that has been resonating with me recently :

"Our lives begin to end the day we become silent about the things that matter." - Martin Luther King, Jr.


Wednesday, May 2, 2018

My First Heartfelt Creations Sweet Peony Collection Project for May


Mixed Media "You are my Everything" Peony Canvas

Welcome to my blog!

Thank you for joining me in my first Heartfelt Creations project post for Inspiration Wednesday. I am sharing the details below with you on how I made this flower bordered canvas.


Heartfelt Creations Products Used:

HCDPI-288 Sweet Peony Paper Collection
HCPC-3819 Small Sweet Peony Cling Stamp Set
HCPC-3820 Large Sweet Peony Cling Stamp Set
HCPC-3821 Peony Blossom Stamp
HCD1- Small Sweet Peony Craft Die
HCD1- Large Sweet Peony Craft Die
HCD1- Peony Blossom Die
HCST1-401- Deluxe Flower Shaping Tool Kit


OTHER PRODUCTS
An 8x8 Canvas, White Heavy Gesso, Daubers, ZIG Wink of Stella Glitter Light Green Marker, ZIG Wink of Stella Glitter Green Marker, TCW Bricks Stencil, Memento Inks in colors; Bamboo Leaves, Cottage Ivy, Rose Bud, Lilac Posies, Angel Pink, Rhubarb Stalk; Finnabair Stone Effect Paste in Pumice, Faber-Castell Glass Bead Glitter Gel, Stamp Platform or Acrylic Stamp block, Yellow Seed Beads, Green Floral Wire, Hot Glue Gun or strong adhesive, Mounting Foam Tape, decorative white picket fence, Creative Embellishments decorative border chipboard, Two decorative small twig nests, Four flat backed rhinestone embellishments, Finnabair Acrylic Paint in Metallique Vintage Rose, Brushes for paint and gesso, Palette Knife for Stone effect Texture Paste, wire cutter, Heat tool (Optional)


Instructions:

Preparing the canvas - Prime the reverse side  of the canvas with two coats of White Heavy Gesso, making sure to also prime the inner sides of the wood frame. Once dry, apply Stone Effect Paste or Texture paste of your choice using the Bricks Stencil with a palette knife to create a wall effect. Allow to dry.

Place the 6x6 Heartfelt Creations Paper collection bird and fence scene centered into the canvas and glue into place. I recommend only tucking in one side and positioning before gluing down. Set Aside. Prime the chipboard frame with gesso and paint with Finnabair Acrylic Paint in Metallique Vintage Rose. Adhere the border chipboard to the frame to create a trellis look with strong adhesive or a glue gun and line the decorative white picket fence below it. When lining the decorative fence, place it beneath the fence in the image, so as to not block it and create the look of a second, much closer fence to create depth.

To make the leaves, stamp the leaves from both the Large and Small Sweet Peony die sets in Memento Cottage Ivy and color with Memento Bamboo Leaves with a dauber.. Make a total of 23 leaves, an assortment of both sizes for three large peony flowers and ten small peony flowers. For the small peony flowers, stamp and color green flowers to act as the green stem for each. Once finished, use a dauber to edge the leaves with Memento Cottage Ivy to create contrast. Use both Zig Wink of Stella Glitter markers to accent the veins in each leaf. Set aside.

Using the Deluxe Flower Shaping tool kit, stamp and die cut two Large Sweet Peony flowers from the Large Sweet Peony Cling Stamp Set by stamping them with Memento Rhubarb Stalk. With the dauber, color the flowers with Memento Lilac Posies and color the edges with Memento Rhubarb Stalk. Then, stamp and die cut one Large Sweet Peony using Memento Rose Bud Ink for the stamp and Memento Angel Pink for the dauber to color and edge the flower. Make sure to remember to color the backs of the flowers. Stamp and die cut ten Small Peony flowers in an assortment using the same ink color combinations as the large Peony flowers. Once you have the small Peony flowers assembled and shaped, use the piercing tool to slip the green wire through the centers of the flowers and hot glue, snipping whatever is leftover inside the bud with wire cutters. Make sure to leave a tail of about 5 inches, so that they may be curled later during arrangement. Once all flowers have been assembled, drop a dime sized portion of hot glue into the center of each of the flower buds and quickly sprinkle with yellow seed beads to create the pollen.

Arrange and affix the flowers around the left side of the canvas, aligning them with them along the chipboard frame to create the illusion of the flowers growing up along a trellis. Adhere the leaves to buds and tuck them in and around flowers to create the foliage. To create the curled sprigs, take the bottom of a brush and wrap the tails of wire around the handle and curl as desired and snip with wire cutter. With a brush, add dashes of Faber Castell Glitter Bead Gel to the edges of flower petals and leaves. Add any rhinestone embellishments and twig nests in empty spaces to add detail. Adhere some small Peonys behind the decorative fence along the bottom of the wooden frame to create a connection between the background and the front of the canvas frame. You can have leaves and wire sprigs poking through the fence to add to the dimension.

Stamp and die cut the blossom in the Peony Bud and Blossom stamp set. Use Rhubarb Stalk for the stamp color with Memento Lilac Posies with a dauber and affix to the empty sky space with mounting foam tape. Cut out background graphic and sentiment from the Sweet Peony Paper Collection and do the same to create layers with foam tape. Add any extra leaves or sprigs to your taste. Enjoy!


VIDEO LINKS
For more tips on creating with the Sweet Peony collection, watch the tutorial at https://youtu.be/L9_MLkvpGPQ


Wednesday, March 14, 2018

Vintage Pink Gingham Vinca Card

A 6x6 Dimensional Card using Lemoncraft's House of Roses Paper 

for Cherish the Memory


Hey there! Welcome to my blog post!


I love red and pink. I love both of them together, but out of the two if I had to choose one I would most certainly pick pink! A super bright fuchsia pink! I try to work in colors other than pink because it is one of the many ways I challenge myself as an artist. So, when I was sent this paper collection by Lemoncraft called House of Roses from Cherish the Memory, this girly girl was delighted! As usual I will post links at the end of my post on where to purchase.


So I went with simple design again with this card. Much like the last card, I wanted to keep it a neat and fast to make project. Coming up with the layout took me less than ten minutes and about half an hour to assemble! Oh! And while watching my soap opera! Talk about multitasking!


Using an image from the Vintage Time collection fussy cut page, I centered it as the focal point for my card. Since the card's theme is predominantly pink, I thought this white bouquet of gorgeous vincas would be the perfect contrast against the pink gingham background.


In addition to the contrasting white bouquet, layers were added underneath to make the focal point sort of pop up quite literally from the rest of the card. Remembering to keep the card simple, I limited the dimensional element only underneath the bouquet.


The lovely postcard you see in the background is from the ephemera pack which I have linked below. It is the second layer from the background paper to make it appear as if it was the postcard that was somewhat "wrapped" with the burlap floral ribbon, ready to be delivered.


Without adding too many patterns, I used similar patterned papaer to the gingham using dotted paper from the House of Roses paper pad to buffer the imagery between the layers. What this does is help hide some of the post card and ties the main ephemera piece to the background so that it all stays connected. I believe strongly in having my pieces all connect in design similarities so that there is harmony. This also helps the beige colored die cut heart circle stand out from the postcard with pink peeping through.


I used cute little white flowers that matched the bouquet and adhered tiny little pink pearls to make them match the vincas and decided to adorn the corners for consistency. 


For dimension in most of my projects, I use foam tape, but I hate to rely solely on foam tape so I always make sure to use any elements that might help me get that extra "oomph" in my layering. In this case, I tore the petals off of a large paper flower (If you gasped, I understand completely, but sometimes you need to improvise!) and glued the petals around the die cut heart frame to match the florals in the background. Again, I did this to create that connection for consistency and to also make the pink centers of the vincas pop. 


Lastly, I added two gemstones to counterbalance the vertical burlap strip. I love using these gems because it adds this beautiful light catching sparkle that rhinestones have. I always try to make my projects sparkly when I can!

Thank you SO much for checking out my blog post on this feminine vintage floral card! If you like my work please know that you can get these posts e-mailed to you by subscribing! Check out the links below if you are interested in creating with these gorgeous papers.


Thursday, February 22, 2018

I am a Semi-finalist for Heartfelt Creations Design Team!


If you enjoy my artwork, please be so kind as to vote for me! I would absolutely love to create for such a beautiful company!


Shabby Chic "Make today count" Mixed Media Tag

"Make today count" Mixed Media Tag

for Cherish the Memory


Using Lemoncraft's House of Roses Collection


"Make today count"


That is essentially everyone's goal, on a daily basis, right? Most of us may feel like we don't succeed in making every single day "count" but I think it's safe to say that most of us try. I like to think that every day counts, no matter what, even if we can't see how. I also think "make today count" means we should take some time every day to take a look around at the beauty in our surroundings, and I think this tag full of pretty flowers and butterflies is a great reminder to do that! This wonderful sentiment is a Tim Holtz sticker.

The House of Roses collection by Lemoncraft Papers is perfect for any lover of shabby chic! If you'd like to make this tag, the collection is available at Cherish the Memory store. I will list the links to the items at the end of my blog post.


The collection has a beautiful vintage theme, which is made up of soft shades of pink, creams, browns and greens. To showcase the softness of these colors, I decided to use black elements for contrast. To make these classic vintage colors pop, I added a cute black chipboard window frame by Creative Embellishments and used a black tag. If you don't have a black tag on hand, you can always use black cardstock paper to glue onto the tag, and make your tag thicker for more durability.


To tie the design of this retro polka dot pink background, I used a Fiskars punch called "Romantique" to make the edges match the style and soften the edges. Consider checking this punch out, it has three different edges and they are all gorgeous. I use it frequently! 

How I gave the tag texture


Background Elements


Do you see that lovely flair button? I am new to working with flair buttons and I LOVE them. They give such a new to me dimension and enhances the layers! 

To give the flowers an organic effect, I like to add materials that look like fine straw and twine. I find that using these materials helps to "fluffen" up the texture and give great dimension! Adding natural elements to any floral project really adds a realistic factor without having to go dig up anything in your garden! I personally don't have a garden, but I do own some English rose shrubs that may or may not have been such a great idea to grow here in Texas, since I can't stand to be outside most of the year. Oops.


Texture Materials : 


Ranger Glossy Accents
Nuvo Drops
Finnabair art ingredients Mini Art Stones
Faber Castell Glass Bead Glitter Gel
Pink Glitter 
Clear Gesso/Clear Gel Medium

Texture Instructions

For this tag, I wanted to create subtle texture that would connect all the elements in the tag, but not become heavy or distracting. The background is very easy to create, just apply a coat of clear gesso or clear gel medium to the background paper and allow to dry first. Take a palette knife or a spatula, then, spread the Faber Castell Bead Glitter Gel on a craft/glass mat and mix by sprinkling glitter and Mini Art stones at your own preference and apply to the desired areas. 

Tip : Use Ranger Glossy Accents to create dew drops on flowers


I hope you have enjoyed my post! Thank you so much for stopping by. I have linked the paper I used below. 


"Wrapped in Adventure" Layered Card for Cherish the Memory

Layers and Distressing  Using Studio Light's Paper Collection "Memories of Summer" Creating Layers Do you ever ...