Showing posts with label Gossamer Blue. Show all posts

Tuesday, March 6, 2018

Lemoncraft's Vintage Time Simple Doily Card with Layers

Simple Vintage Time Card designed for Cherish the Memory
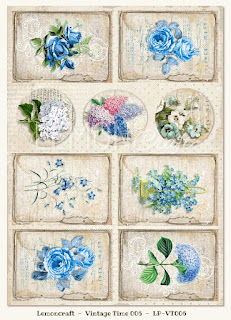
using "Gossamer Blue" Paper Pad


Once in a while, I challenge myself to stick to good old paper and adhesive for the sake of good simple design. Well, maybe with some ribbon and tiny embellishments thrown in ;) 

This card was a quick make, probably spent an hour and a half at the most with the most time consuming part being drooling at the paper choices and figuring out the layout.


Love Nuvo drops by Tonic. They are my go to product for even the simplest of projects. I love that drops can be added to even the most simplest card, and still add that detail I crave!


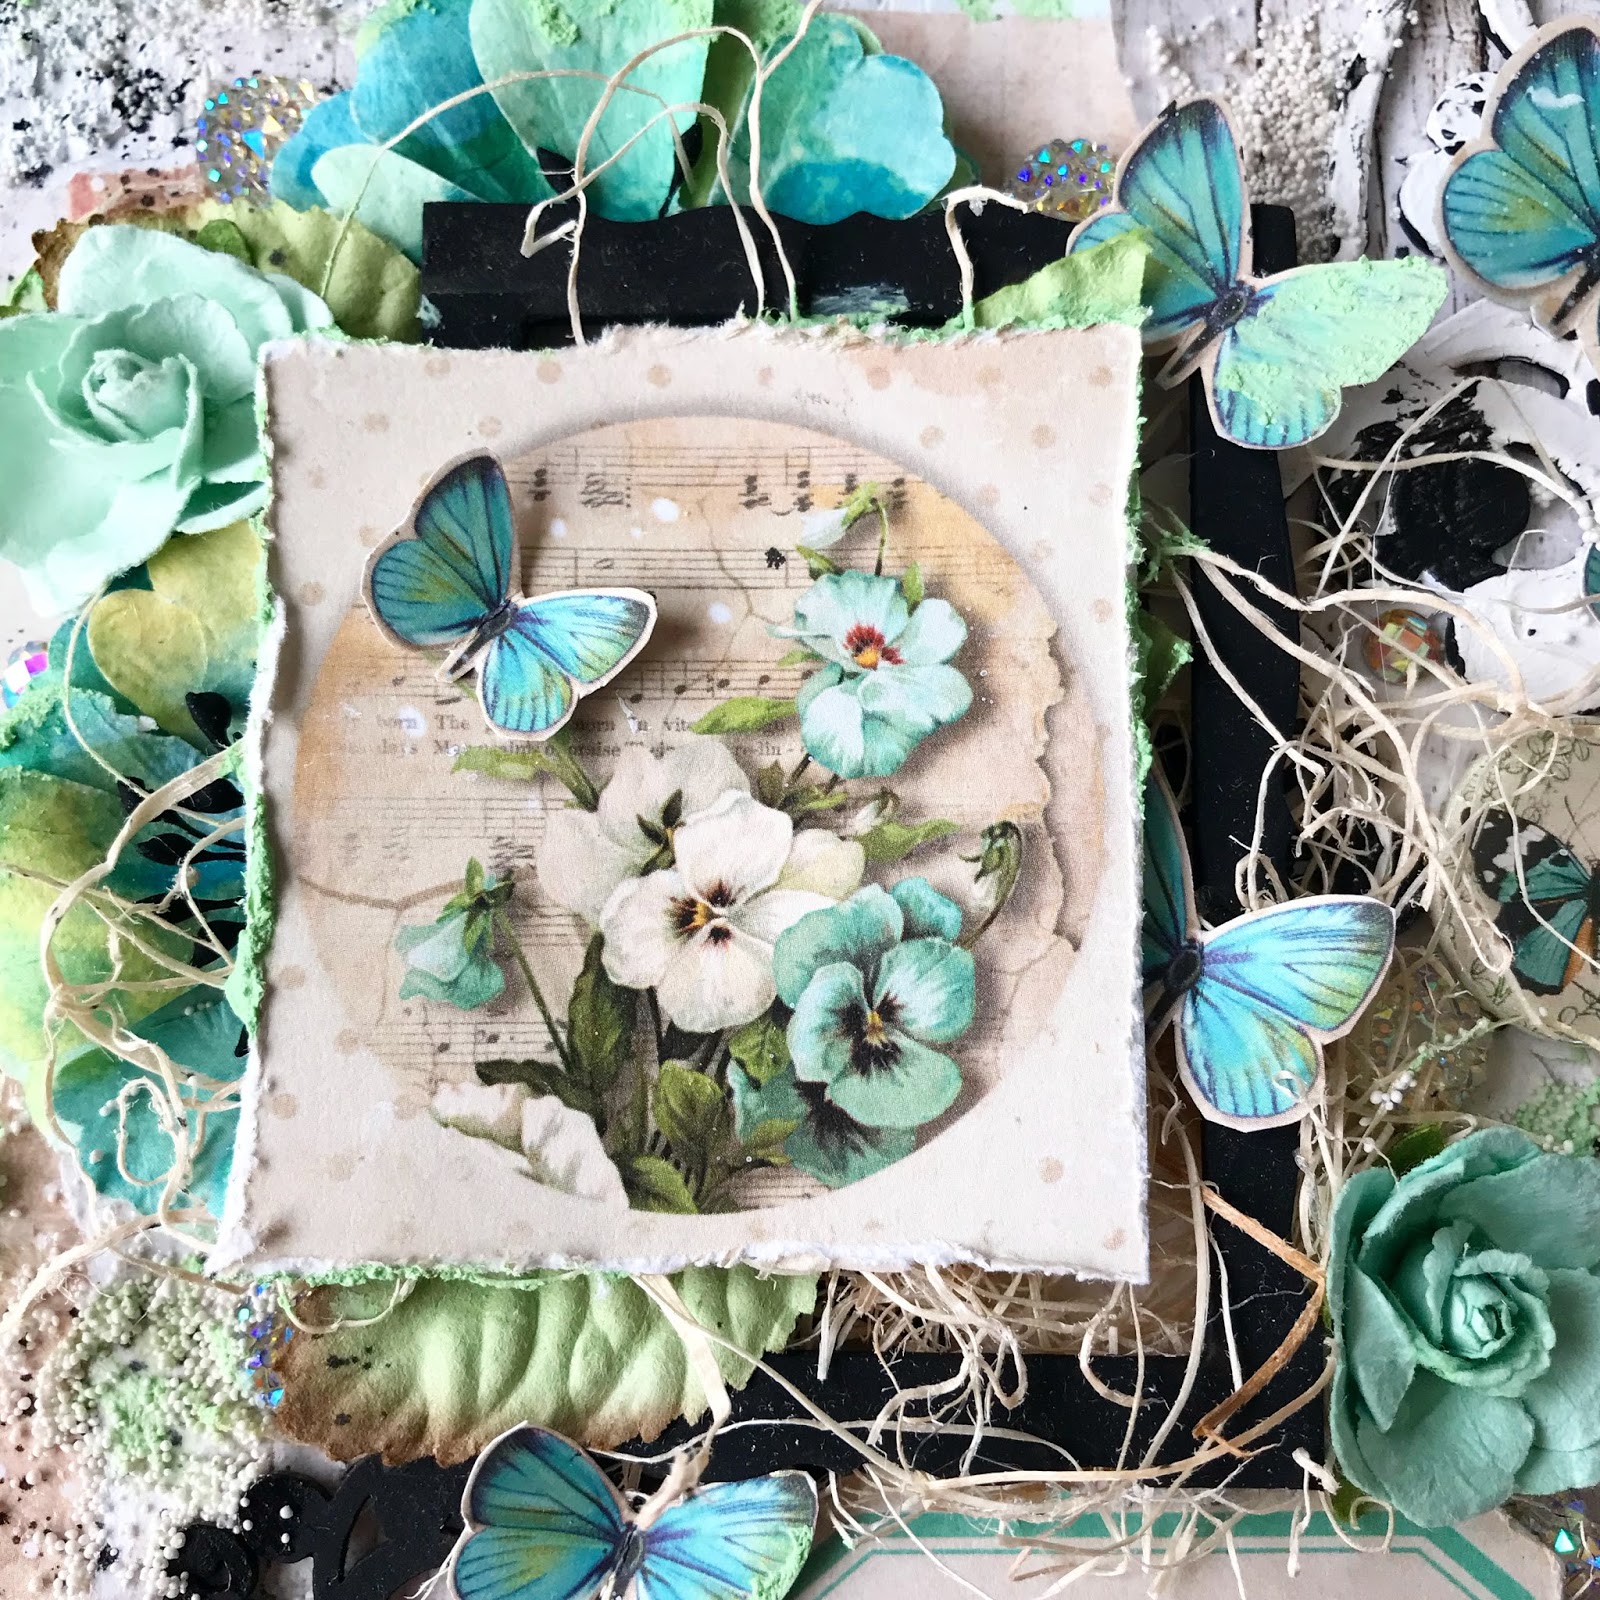
This little girl was my favorite feature of the collection! I knew that when I used her that I would save her for the simplest project, so that she may be the center of attention. I made sure to center her in the middle of the doily for the focal point on my card.


Flair buttons are fairly new to my crafting arsenal, but already have a hard time seeing myself crafting without them. In this case, it is a perfect embellishment over top of a ribbon bow, making it look as if it is holding the card closed.


The challenge I had with this card, for me because I'm detail oriented, was giving this card depth and dimension without making it a mixed media card, or losing it's simplicity. You can easily layer a simple card by playing with the paper itself, by using a bit of foam tape I created a "booklet" effect by placing strips of the different patterned paper in the paper pad and gave each one a different placement to make it appear as if each strip was essentially a "page" descending from left to the right. The beautiful music sheet really helped me achieve that look. To further accentuate this, I made sure the paper doily was beneath the strips.


See that little heart there? If you look closely, I have scattered and glue down little tiny hearts. They are hearts that were die cut leftovers punched out from a Spellbinders die I used for the blue rose doily behind the little vintage girl. 


Thank you for checking out my blog post on this simple card! These gorgeous Lemoncraft papers and flair button can be purchased at Cherish the Memory. Links below!


Thursday, February 15, 2018

"Gossamer Blue" Hydrangea and Roses Card using Lemoncraft Papers

 Hydrangea and Roses card for Cherish the Memory

With Tips to keep in mind while working with vintage inspired paper


Hello there! 

When I am not working on mixed media canvases, or playing with paints and inks in my art journal, it is nice for me to turn to card making. Card making allows me to use paper mainly as the main medium, versus the usual mediums I use for mixed media, all the while allowing me to still make them mixed media! I find that to be a wonderful thing because I get bored easily. I like to think that I have crafting ADD. Do you ever feel that way? 

This card was made using Lemoncraft papers, from the Gossamer Blue collection, and if you also love vintage graphics, you'll love this collection! This paper pad from Cherish the Memory has beautiful shades of blue, with varying hues! 


The Lemoncraft paper for images to die cut/fussy were my favorite. I used a spellbinders die to cut this pretty hydrangea from it's rectangular scroll design, which was perfect as it was, but I wanted to create a border that would complement it's surroundings on the card. 


Here you can see the different hues of blue that the paper collection has! The blues vary in range from a deep ocean blue, to a light sky blue with tints of teal. Natural jute twine was used to connect the sepia tones of the vintage inspired background of the hydrangea (there is a lot of beautiful old text backgrounds in the paper pack) to the rest of the card. Balance of color is very important to me to tie (no pun intended) it all together!


Tips to creating an aged look for when working with vintage inspired paper :

  • Use a distress tool to rough up the edges of the paper. I use a distress tool by Prima Marketing but you can also distress paper by using the side of the blade on a large pair of scissors, as long as you are careful.
  • For corners it's a wonderful idea to get yourself a decorative corner punch. The one I used for this card is the Fiskar's corner punch called "Romantique" and I love it!
  • When making a mixed media card, or anything vintage inspired, I love to throw antiquated looking lace in off white and cream colors. The lace I used here creates depth and complements the jute twine. Doilies are great too if you have them!
  • When working with vintage inspired papers, especially with sepia and warm tones, it is best to stick with off white shades and creams. Ivory is a good replacement for white. Personally, I love to use ivory pearls!


At first, I wasn't so sure about using the jute twine in combination with the satin ribbon, but I thought, "Why not?" went for it and loved it! No rules in art I always say! Which pretty much goes against just about everything I was taught in graphic design back in my college days :) The ribbon helps create the illusion that it is holding the blue roses together in a bunch, and the jute twine can be seen as the adornment filler for the roses or simply what attaches the image to the roses. All in the details.


For the background, I used a TCW stencil with wording to play along with the text in the paper by using modeling paste for texture. There are many mixed media details that can be subtle and soft, perfect for card making for adding interest, a blog post might be in order for that! 

The light blue specks you see on the main background paper (the distressed one) I created by using a Lindy's Stamp Gang spray called Tilt-o-Wheel Teal to match the foreground paper and tie everything together. When I did this, I made sure to cover the main image with a piece of scrap paper for masking it away from the speckles.


I hope you enjoyed this post and have gotten some new tips for yourself, or simply some inspiration! Let me know in the comments if you have any questions or would like to read about something not being discussed. Thank you! Please subscribe to my blog if you'd like to be updated for new posts which happen about 2-3 times a month. 

Links to some of the goodies used! Click on the pictures to see specific items.

 Flair Button

 Fussy Cut Page

 Gossamer Blue Paper Pad

 Fussy Cut Page


Thursday, February 8, 2018

Mixed Media Butterfly Canvas for Cherish the Memory


Lemoncraft Vintage Time Mixed Media Canvas

"Great things take Time"


Hello! I am excited to bring you my first post of the new year! It has been a short while since I have last felt like I really "created" anything, so you can say I was more than ready to make this mixed media canvas!

This is my first time working with Lemoncraft papers, which are beautiful Polish papers that you can get from Cherish the Memory Etsy store. The links to the products will be at the end of this post!


The overall layout of the canvas is a rather busy one, so I wanted to make sure that the background stayed light and subtle, so as to not be distracting and remain a background all the while containing just enough color to tie the background with elements of the face of the canvas. 

For the background I used : 

Tim Holtz Stencil
Finnabair Mini Art Stones
Finnabair  Patina Effect Mint-Green Paste
Finnabair Acrylic Paint in Opal Magic "Blue-Gold"
For the splatter effect : Tim Holtz Distress Spray Stain in "Black Soot"


My favorite part of the canvas is this elegant chipboard piece by Creative Embellishments. I used heavy black gesso to give it that beautiful black matte effect. These lovely butterflies were fussy cut from Lemoncraft fussy cut papers which are listed below.


I love Tim Holtz Idea-ology stickers! They are perfect for all mixed media projects, so I love using them in mine. I especially love that they come in black and white, so this black sentiment was perfect for creating the contrast I needed for the black accents in the layout.


I mainly drew inspiration from this lovely flair button for my canvas! I love contrast, and I wanted to marry the black and white beauty of the wings along with the soft warmer browns and creams into the color palette for that vintage look that these papers are styled after.


I used organic fibers to help give dimension to the center frame/piece of the canvas. The chipboard frame received the same treatment as the elegant scroll chipboard, to make the center piece pop and to play along with the black in the pansies. I loved the garden effect the paper flowers and paper leaves had! It made the canvas seem as though it was "sprouting" which is always a good thing, considering I am as far from having a green thumb as possible! :) 


I took a chance on using white crackle paste and white acrylic paint to give this chipboard piece an aged shabby look. I wanted it to look as though time had passed and the "wildlife" had essentially taken over, and luckily I ended up loving it! You MUST take chances.


Love dimension! The more the better! What I love even more are rhinestone embellishments. I love all things sparkly, and they are excellent at creating depth by reflecting light amongst the back layers.


I hope you have enjoyed my post! We are into February now, but I hope you have had a great start to the year already. 


Eugenia Redmond


https://www.etsy.com/listing/589290965/lemoncraft-vintage-time-007-a4?ref=shop_home_active_13


 Fussy Cutting Sheet A4

https://www.etsy.com/listing/573160712/lemoncraft-gossamer-blue-button-and?ref=shop_home_active_13

    https://www.etsy.com/listing/586968773/lemoncraft-6-x-6-gossamer-blue-card?ref=shop_home_active_11

"Wrapped in Adventure" Layered Card for Cherish the Memory

Layers and Distressing  Using Studio Light's Paper Collection "Memories of Summer" Creating Layers Do you ever ...