Tuesday, July 18, 2017

"Seas the Day" Card for Cherish the Memory


"Seas the Day" Shipwreck Beach Card

Created with beautiful paper from Cherish The Memory 


A Simple and Masculine take on a Beach Card!


Just recently, I have been creating feminine projects,which tends to be my usual go to style so I decided to do something a little different and take on a bit of a masculine/unisex feel with this card! My goal was a look that both sexes would enjoy with a touch of simplicity, but not too simple, nI believe I successfully achieved with this card.


I used a 6x6 card size because the background paper is taken from Cherish the Memory's wonderful 6x6 paper pads, the perfect size for cards when looking for a squared off shape.


I chose to stick mainly with paper products for this card, with the exception of the raffia and twine, allowing the card to have the simple yet beautiful look I was going after without having to make a mess with my usual mixed media supplies.


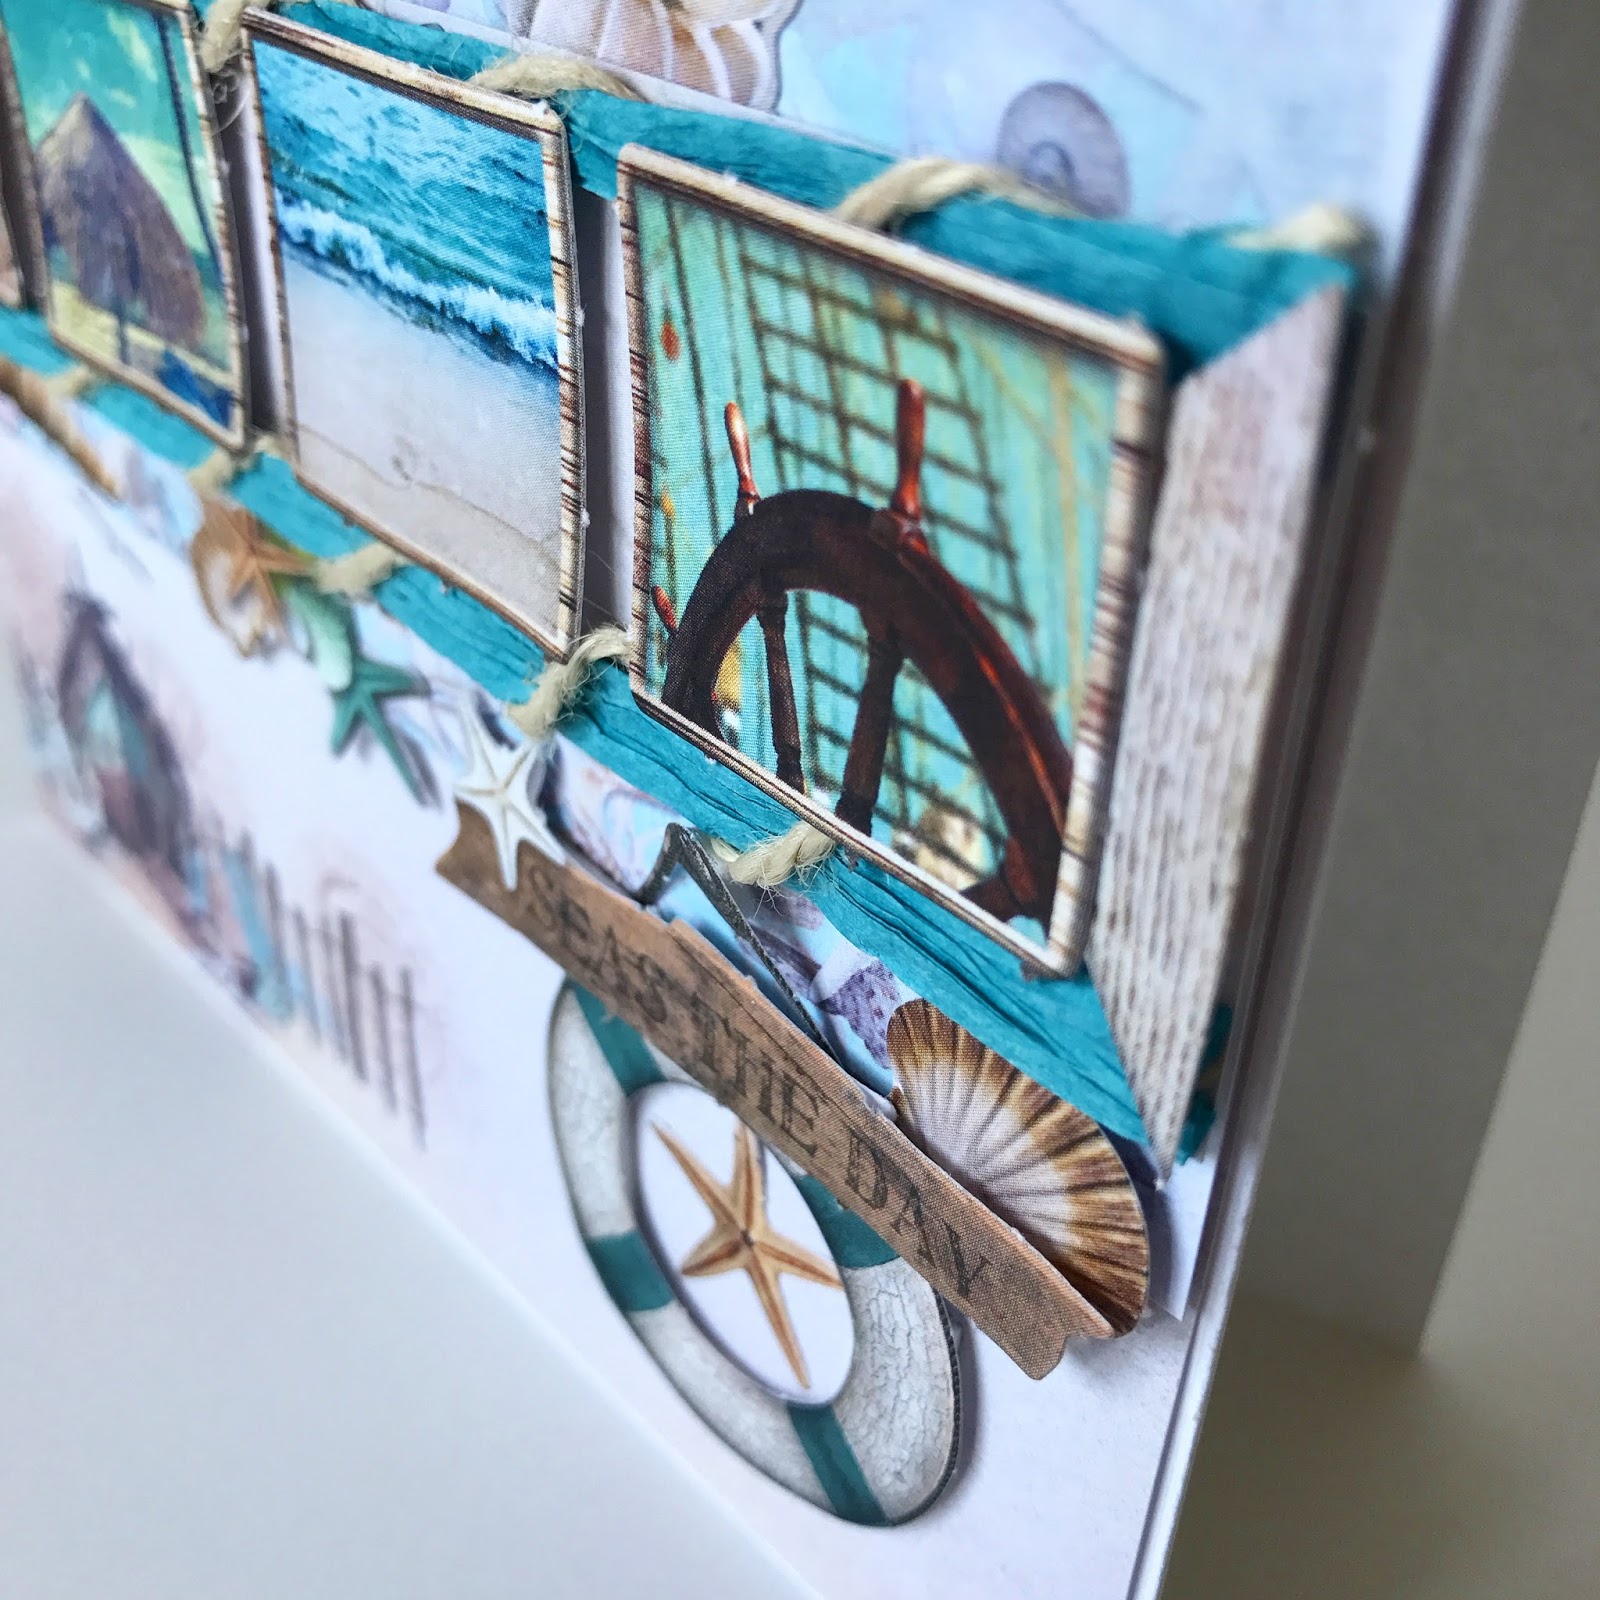
Blue Raffia and jute twine was used to create the horizontal borders around the pictures to create a frame effect. This raffia pairs perfectly with the paper in the Romantic Summer collection at Cherish the Memory and can be purchased here


I loved and had fun placing the different kinds of beach paper accessories in and around the frame to tie the images into the background, making sure I stuck with the color scheme for a perfect matching theme. Despite the more masculine look to this card, in comparison to my previous project, it is not "too" masculine, or overly pronounced to where it couldn't be gifted to a female friend or relative. I personally am drawn to blues! Blue is essential to the ocean and any beach themed art project. Particularly this hue of blue that the paper collection exhibits, it's just so aquatic and pretty.


Here are some more close up shots of the card :


I hope you enjoyed viewing this card as much as I enjoyed stepping out of my comfort zone with this lovely self challenge. It was so well worth it! Always challenge yourself, your abilities may surprise you! 


Please make sure to check out Cherish the Memory's Etsy shop for more lovely paper products!


Tuesday, July 11, 2017

"Romantic Summer" Canvas Tutorial for Cherish the Memory

Roses and the Sea :
A Romantic Summer Canvas Tutorial


Cherish The Memory Store


Materials :

1) A primed Canvas
2) Modeling Paste or any heavy medium for texture
3) A background stencil. I used a Tim Holtz gauze stencil
4) Romantic Summer Paper Card Kit Pad from Cherish the Memory 
5) Acrylic or Ink Sprays in your favorite blues. I used Lindy's Stamp gang colors Tilt-a-Wheel Teal and Blue Hawaiian Blue. Acrylics used were Finnabair's Art Alchemy Metallique Rich Turquoise and Opal Magic Pink-Blue and a basic Titanium White acrylic paint for the painted veneer (or other color of your choice that will stand out against the blue)
6) Cheesecloth and Natural Fibers
7) Paper flowers of your choice. Some flowers used were Prima Marketing flowers. 
8) Heat tool (optional for drying)
9) Hot Glue Gun
10) Rhinestones or Druzys for bling decoration
11) A framed wooden veneer or chipboard for framing
12) Blue Raffia from Cherish the Memory
13) Scrapbooker's mounting tape for a 3D effect

Tutorial 


Start by priming your canvas, if not already primed with gesso and use desired stencil with paste. *Note* I did not prime my canvas, as it was store bought.


These are the colors that I used on the canvas once the modeling paste was dry. The sprays were used first, dried, then acrylics were used for accenting and contrasting. This part is really up to you in terms of what look and shades you want to your background!


I used white acrylic for some added dimension to make the stencil work pop. At this step, you should start playing around with the cheesecloth or mesh of your choice to get an idea of what parts you want to cover the canvas with.


I decided to use natural fibers toward the center, and here I was playing with placing it in different parts of the canvas to add dimension and height underneath where my paper elements will be placed.


Decide where you would like your papers to go according to your focal point. In this picture, I painted my wooden veneer with white acrylic paint and fastened it over top of my placed papers. You can do all of this before gluing anything down, in case you change your mind over the paper placement. I love having the opportunity to have a preview if I can! 

Once paper placement is decided, adhere mounting tape to each of your layers to create the level of dimension you wish to achieve. I go crazy with mounting tape because I love dimension! 


I used the blue raffia from Cherish the Memory to tie and secure the veneer as a decorative option to the canvas which doubled as a way to hang the canvas later on when putting it up for display. 


After you have decided on your paper placement and have glued and mounted all your layers (cheesecloth/gauze, natural fibers/raffia, wooden veneer/chipboard and paper layers, feel free to adorn the surroundings of your canvas with accessories such as paper flowers and rhinestones to make the shadowed areas (if any) pop! 

Here are some close ups :


I hope you all enjoyed my tutorial! This project would not have been as beautiful without these gorgeous papers from Cherish the Memory's Etsy store! Find the link below this paragraph. Please also make sure to take a look around at other beautiful papers and check out my previous posts for more ideas.

Cherish The Memory Store


"Wrapped in Adventure" Layered Card for Cherish the Memory

Layers and Distressing  Using Studio Light's Paper Collection "Memories of Summer" Creating Layers Do you ever ...