Tuesday, July 18, 2017

"Seas the Day" Card for Cherish the Memory


"Seas the Day" Shipwreck Beach Card

Created with beautiful paper from Cherish The Memory 


A Simple and Masculine take on a Beach Card!


Just recently, I have been creating feminine projects,which tends to be my usual go to style so I decided to do something a little different and take on a bit of a masculine/unisex feel with this card! My goal was a look that both sexes would enjoy with a touch of simplicity, but not too simple, nI believe I successfully achieved with this card.


I used a 6x6 card size because the background paper is taken from Cherish the Memory's wonderful 6x6 paper pads, the perfect size for cards when looking for a squared off shape.


I chose to stick mainly with paper products for this card, with the exception of the raffia and twine, allowing the card to have the simple yet beautiful look I was going after without having to make a mess with my usual mixed media supplies.
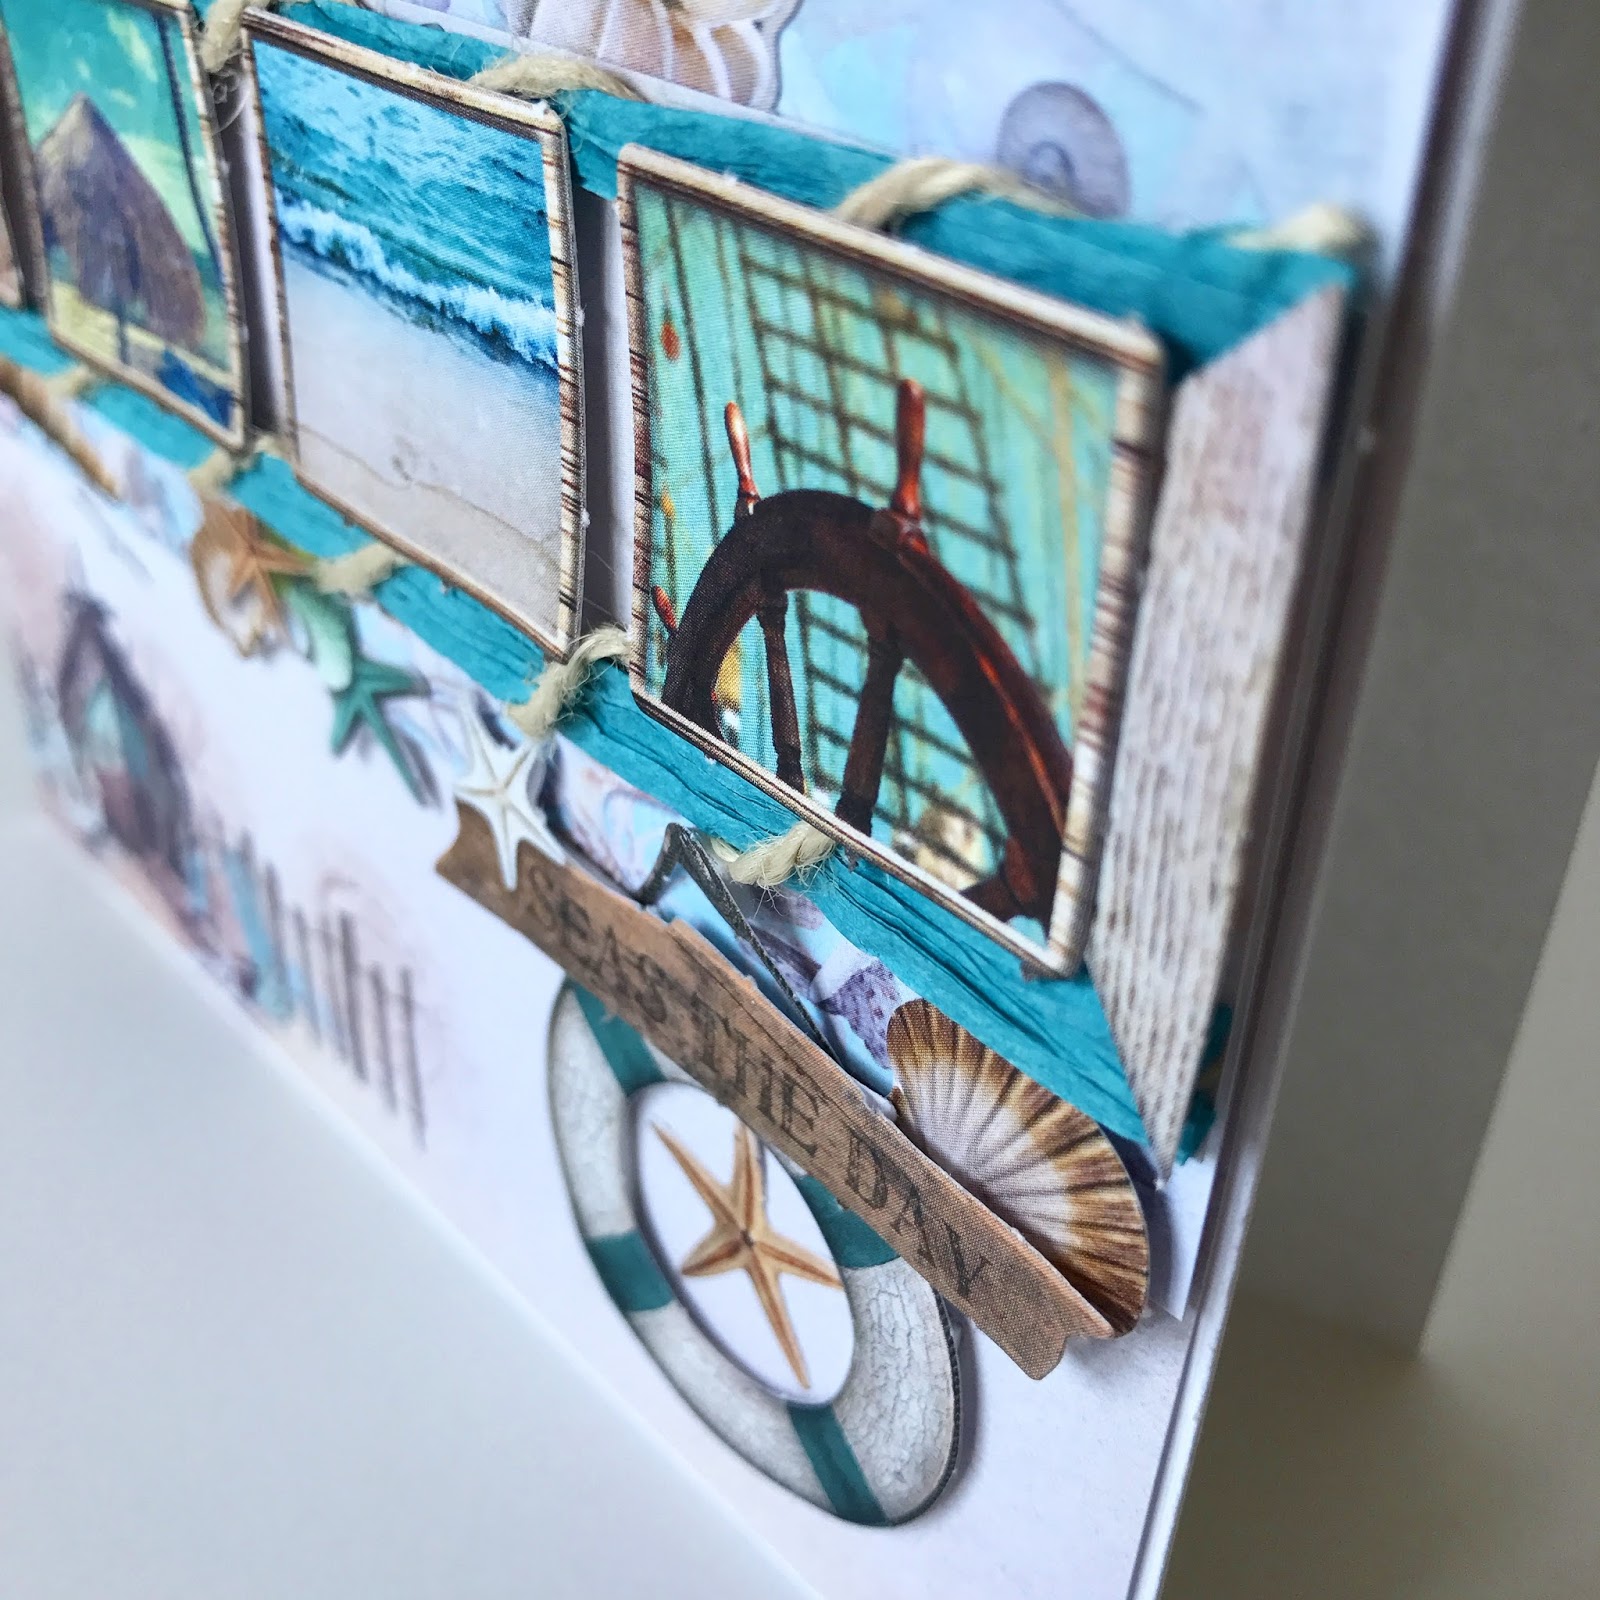

Blue Raffia and jute twine was used to create the horizontal borders around the pictures to create a frame effect. This raffia pairs perfectly with the paper in the Romantic Summer collection at Cherish the Memory and can be purchased here. 


I loved and had fun placing the different kinds of beach paper accessories in and around the frame to tie the images into the background, making sure I stuck with the color scheme for a perfect matching theme. Despite the more masculine look to this card, in comparison to my previous project, it is not "too" masculine, or overly pronounced to where it couldn't be gifted to a female friend or relative. I personally am drawn to blues! Blue is essential to the ocean and any beach themed art project. Particularly this hue of blue that the paper collection exhibits, it's just so aquatic and pretty.


Here are some more close up shots of the card :


I hope you enjoyed viewing this card as much as I enjoyed stepping out of my comfort zone with this lovely self challenge. It was so well worth it! Always challenge yourself, your abilities may surprise you! 


Please make sure to check out Cherish the Memory's Etsy shop for more lovely paper products!


Tuesday, July 11, 2017

"Romantic Summer" Canvas Tutorial for Cherish the Memory

Roses and the Sea :
A Romantic Summer Canvas Tutorial


Cherish The Memory Store


Materials :

1) A primed Canvas
2) Modeling Paste or any heavy medium for texture
3) A background stencil. I used a Tim Holtz gauze stencil
4) Romantic Summer Paper Card Kit Pad from Cherish the Memory 
5) Acrylic or Ink Sprays in your favorite blues. I used Lindy's Stamp gang colors Tilt-a-Wheel Teal and Blue Hawaiian Blue. Acrylics used were Finnabair's Art Alchemy Metallique Rich Turquoise and Opal Magic Pink-Blue and a basic Titanium White acrylic paint for the painted veneer (or other color of your choice that will stand out against the blue)
6) Cheesecloth and Natural Fibers
7) Paper flowers of your choice. Some flowers used were Prima Marketing flowers. 
8) Heat tool (optional for drying)
9) Hot Glue Gun
10) Rhinestones or Druzys for bling decoration
11) A framed wooden veneer or chipboard for framing
12) Blue Raffia from Cherish the Memory
13) Scrapbooker's mounting tape for a 3D effect

Tutorial 


Start by priming your canvas, if not already primed with gesso and use desired stencil with paste. *Note* I did not prime my canvas, as it was store bought.


These are the colors that I used on the canvas once the modeling paste was dry. The sprays were used first, dried, then acrylics were used for accenting and contrasting. This part is really up to you in terms of what look and shades you want to your background!


I used white acrylic for some added dimension to make the stencil work pop. At this step, you should start playing around with the cheesecloth or mesh of your choice to get an idea of what parts you want to cover the canvas with.


I decided to use natural fibers toward the center, and here I was playing with placing it in different parts of the canvas to add dimension and height underneath where my paper elements will be placed.


Decide where you would like your papers to go according to your focal point. In this picture, I painted my wooden veneer with white acrylic paint and fastened it over top of my placed papers. You can do all of this before gluing anything down, in case you change your mind over the paper placement. I love having the opportunity to have a preview if I can! 

Once paper placement is decided, adhere mounting tape to each of your layers to create the level of dimension you wish to achieve. I go crazy with mounting tape because I love dimension! 


I used the blue raffia from Cherish the Memory to tie and secure the veneer as a decorative option to the canvas which doubled as a way to hang the canvas later on when putting it up for display. 


After you have decided on your paper placement and have glued and mounted all your layers (cheesecloth/gauze, natural fibers/raffia, wooden veneer/chipboard and paper layers, feel free to adorn the surroundings of your canvas with accessories such as paper flowers and rhinestones to make the shadowed areas (if any) pop! 

Here are some close ups :


I hope you all enjoyed my tutorial! This project would not have been as beautiful without these gorgeous papers from Cherish the Memory's Etsy store! Find the link below this paragraph. Please also make sure to take a look around at other beautiful papers and check out my previous posts for more ideas.

Cherish The Memory Store


Wednesday, June 28, 2017

Beach Themed Easy Tag Tutorial

Tag Tutorial for Cherish The Memory : Romantic Summer  


You can find beautiful paper crafting kits at Cherish the Memory's Etsy page here.


This tag was very fun, easy, and quick to make! I typically have a tendency to overdo simple projects and turn them into complicated and intricate ones, but a nice simple project can be a breath of fresh air and when that is needed, nothing can be better than a tag! Tags are perfect for anyone and any occasion. I like to use tags for small gestures or situations in which cards would be too much. A tag is also an excellent way to limit yourself to a small space and will also help you not get anxious over having to cover large spaces, such as that of a canvas.

The materials you will need :


A plain tag 


Raffia and this gorgeous Washi Tape from Cherish the Memory Etsy Store


Creative Embellishments Fence Chipboard or any chipboard fence of your choice (optional)


Tutorial


I attached the raffia through the loop hole and affixed the background from the Romantic Summer Paper Card Kit down with the gold washi. I used the washi to cover the rest of the tag background and affixed the chipboard with mounting tape and craft glue. *The pictures are a bit different because I was indecisive and was experimenting with washi placement* 


Some natural fibers were tucked under the fence. 


Here I decided to add some gold ribbon to the raffia but you can use whatever other color you wish or just add more raffia! You can also see how I continued to over the tag with more washi to make a connection with the gold ribbon.


Don't these beach huts look super cute? I had originally planned on using only one, but had to find a way to add another, so I cut the top portion of one and placed it behind some board paper (included in the kit) so it would look like one was peeking in the background. The ideas are endless here, so I added some color matching flowers, and added more blue raffia to match the tag's decor at the top.


The kit has a boatload of accessories, so you can choose to add the seashells and extra ephemera in the kit around the entire tag as you please. For a beach effect I added cheesecloth, which you can find at any food store. 


And here is my finished product. I hope you enjoyed this quick and easy tutorial!

Sunday, June 11, 2017

"Romantic Summer" Birthday Card for Cherish the Memory


"Romantic Summer" 


A birthday card I made using Cherish the Memory's 

3D Romantic Summer Greeting Card Kit


This birthday card is perfect for that summer lovin' beach bunny in your life! But seriously, who doesn't love the beach? I can't think of anything that symbolizes the promise of summer more than a fantastic time getting your feet wet at the beach!

Whether you are gifting a card to a person going away on vacation or who just plans to spend some time to relax in their backyard pool, this card kit is perfect for anyone that enjoys the summer and what it has to bring. The card kit can be used for any occasion, and I chose to use this sentiment, as I know a lot of people with summer birthdays! 

This kit offers so many options that I think it took me longer to choose which layout I liked the best for the card over the time it took me to make the card. That's what's so great about these card kits, that they are so well put and coordinated that it really isn't difficult to put together an amazing looking card, all the while having more than enough options to make a card unique!


Below in these closeups you can see that I have added a bit, but not much of any embellishments, because the paper included in the kit was already vividly detailed. 


Above you can see that the kit comes with a generous amount of paper options to create layers! Along with perforated images to skip any annoying fussy cutting. (My favorite thing about this kit) 


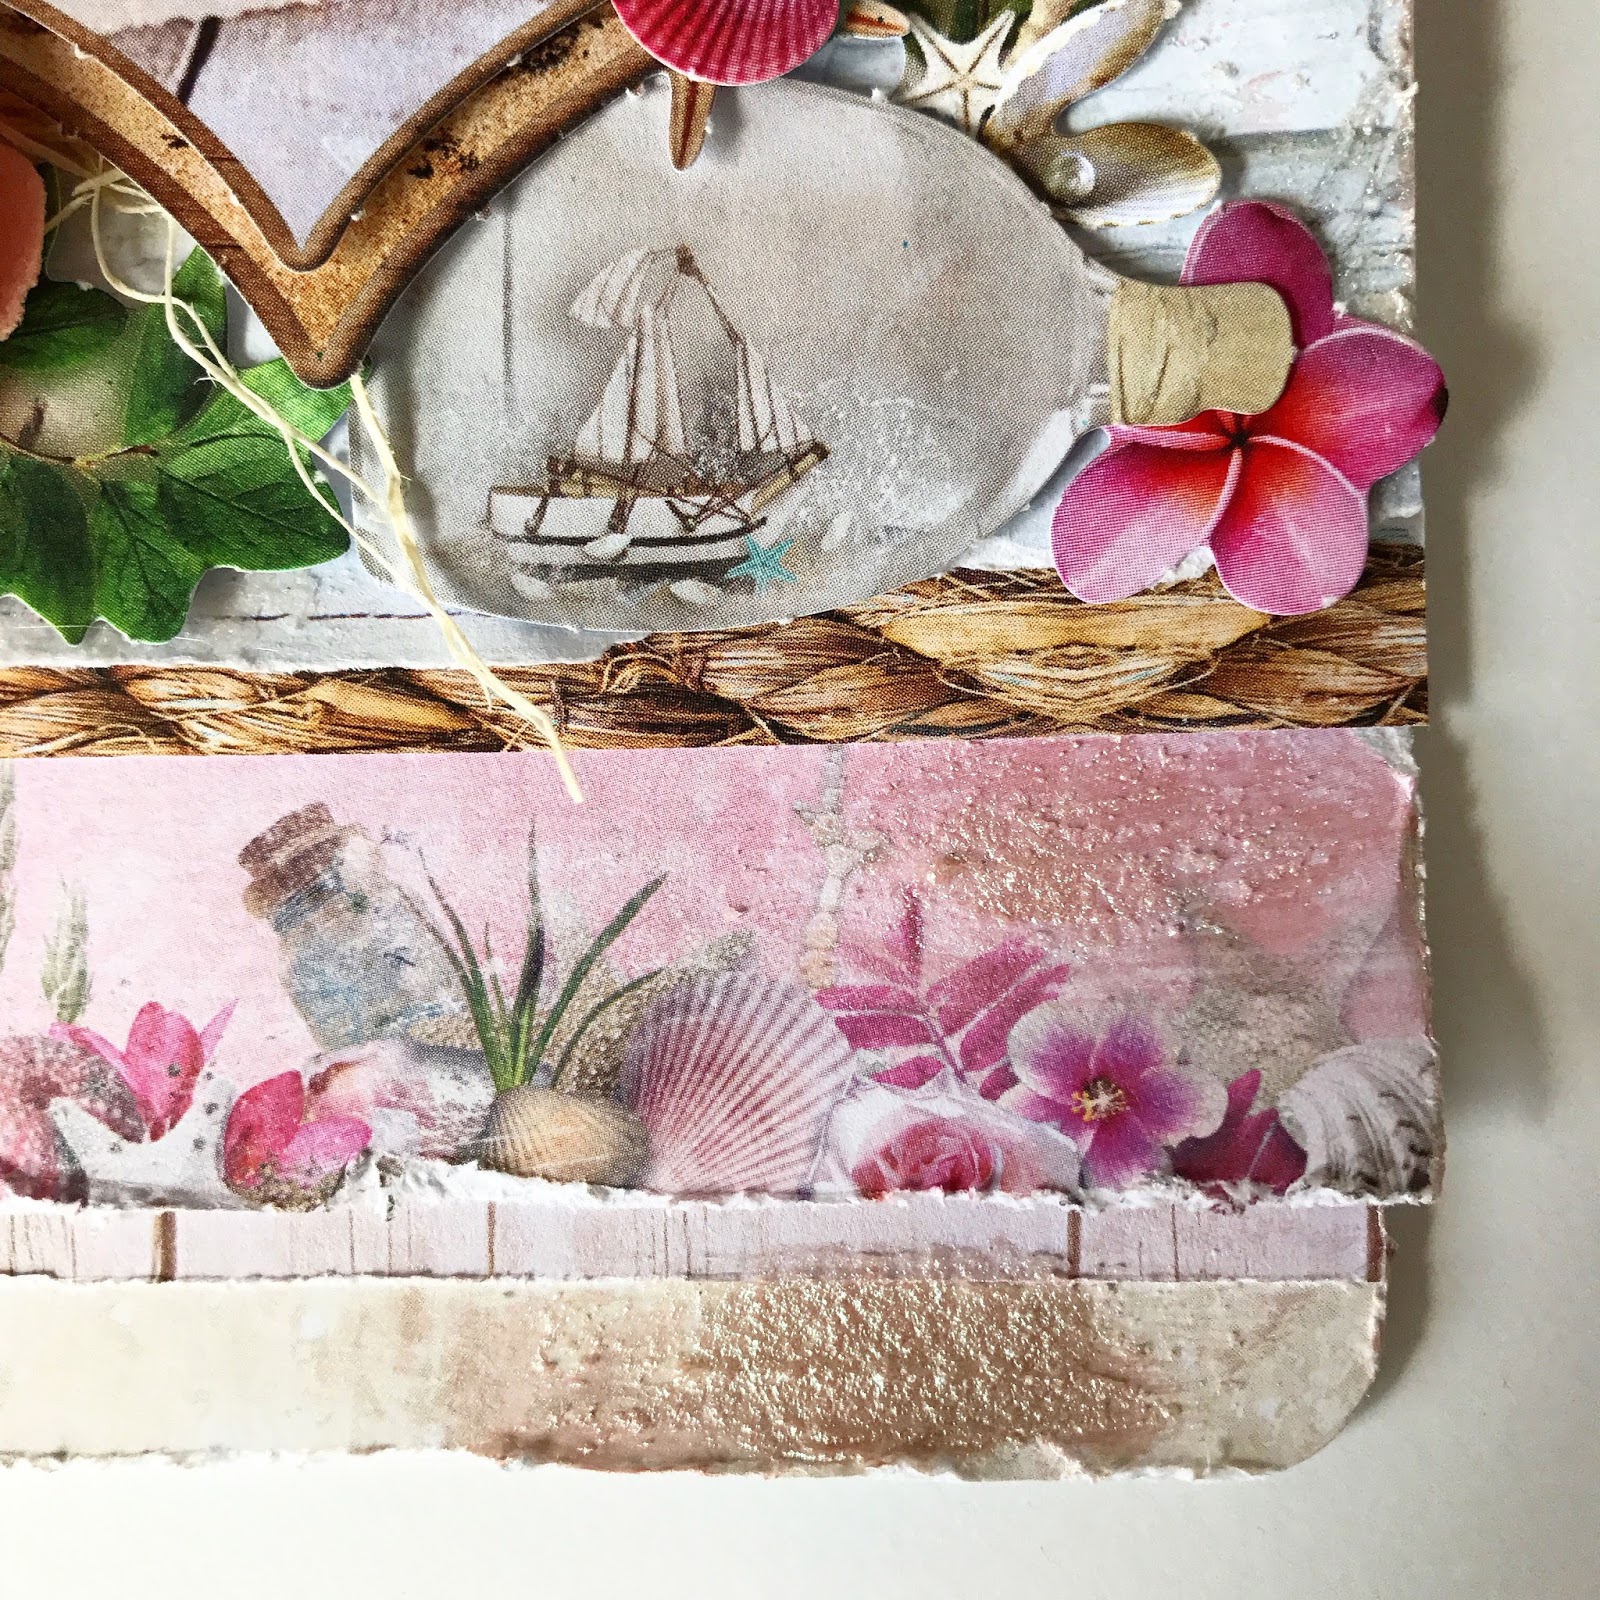
The kit contains an abundance of really cute paper accessories such as this ship in a bottle, so you can make your card as detailed as you wish, or keep it simple and beautiful.


I hope you enjoyed this post! Stay tuned for a future picture tutorial on using this kit for Tags! 

You can purchase the Romantic Summer Greeting Card Kit here:


Thursday, May 18, 2017

"Summer at the Beach" Canvas for Cherish The Memory


Hello and Welcome!  


In this blog post I will be sharing the latest project that I have designed
for 
Cherish the Memory : A Mixed Media Canvas

The Crafting Kit Used: 


I used the Studio Light "Summer at the Beach" Deluxe Crafter's Kit, which can be purchased here.

Making the Canvas


To start my project I used a new primed canvas and a chipboard anchor from my local craft store. The materials needed for this project were mostly basic art supplies such as twine or raffia (which you can get from Cherish the Memory's Etsy shop, texture paste and Acrylic paints. I strongly feel that this project can be recreated by anyone, mainly because I had so much fun creating it, and the only technique I found myself using was just having fun and the rest fell into place.


The Close Ups


Some seashells were added to "nesting spots" on the anchor to create a grounded look against the canvas. Finding seashells on the beach is my most fond memories of summer vacations spent with my parents, so there is much to remember when I used these. 


I used texture paste from Finnabair called "White Crackle" to give the anchor an aged look. Similar texture pasts can be used on the canvas prior to the acrylic to add interest to the background. I sourced my colors from the vibrant blues and greens from the Summer at the Beach kit.


Despite having used a total of two real seashells, the kit contained such a generous amount of paper ones that when used altogether it really made them look incredible and realistic. Having the ones from the kit allowed me to strategically place them in places I otherwise could not have used had I used real ones. Look at those stars! The red starfish were my absolute favorite. They also brought out the red in the lighthouse and really tied the canvas together as the red really popped out against the hues of blue and sea green. 


I love the kit's versatility in choices. I chose to use this ship to give the canvas a more masculine feel.


The kit was full of fun scenes and accessories such as chairs, beach fences, buckets of sea life and lanterns! This kit is definitely friendly for everyone. 


I really enjoy using paper crafting kits, especially when making a mixed media project. The kit was so well organized and matched so beautifully that it took a lot of the guesswork out when creating this mixed media project. In this picture I took a scrap piece of leftover paper and applied it to this canvas, because the color matched the rest of the adornments just perfectly. 

I hope you enjoyed the blog post! Please let me know what you think and if you have any questions or comments!

Here are the links in case you missed them earlier :


 Cherish the Memory Etsy Store


"Wrapped in Adventure" Layered Card for Cherish the Memory

Layers and Distressing  Using Studio Light's Paper Collection "Memories of Summer" Creating Layers Do you ever ...