Showing posts with label crafting. Show all posts

Friday, August 3, 2018

Adventure Tag : Using Details to Create Cohesiveness

Tag made with Studio Light "Memories of Summer" Paper Collection Designed for Cherish the Memory


Using small paper details to create a connection

If you love detail, you'll appreciate the small intricate die cut pieces that come with the "Memories of Summer" Paper Collection by Studio Light available at Cherish the Memory
I will have the links to the paper collection listed below.

There are a total of three layers in this card : 1. The brown wooden background 2. The light creme colored paper background (Post Card layer) 3. The photo frame. 

Starting with the embellishments at the top, you will see that they are what is connecting the background with the "Post Card" layer...and there you have it! You have created what I call a "connection" between the first and second layer. That's all there is to it! Whenever you have layers, always make sure to connect the layers with related items to the items you are using for the rest of your card, tag or canvas.


Create Cohesiveness

To create cohesiveness, one must pay attention to not just connecting the layers, but to make sure to use related items. Related items are items that fit a theme, such as the butterflies I used or in this case all the travel accessory die cuts. What I like to always remember is figure out where you would like to guide the viewer's eye when creating a layout. For instance, if you'd like the visual flow of the card to flow from the top left to the bottom right you use details following the same path.

With this collection creating cohesiveness and connecting layers is really a no-brainer. This is why I enjoy working with this collection so much because it makes project making super easy! Please feel free to ask me any questions below in the comment section. I hope you enjoyed my short blog post! Please take a moment to visit the shop links below.


Monday, July 23, 2018

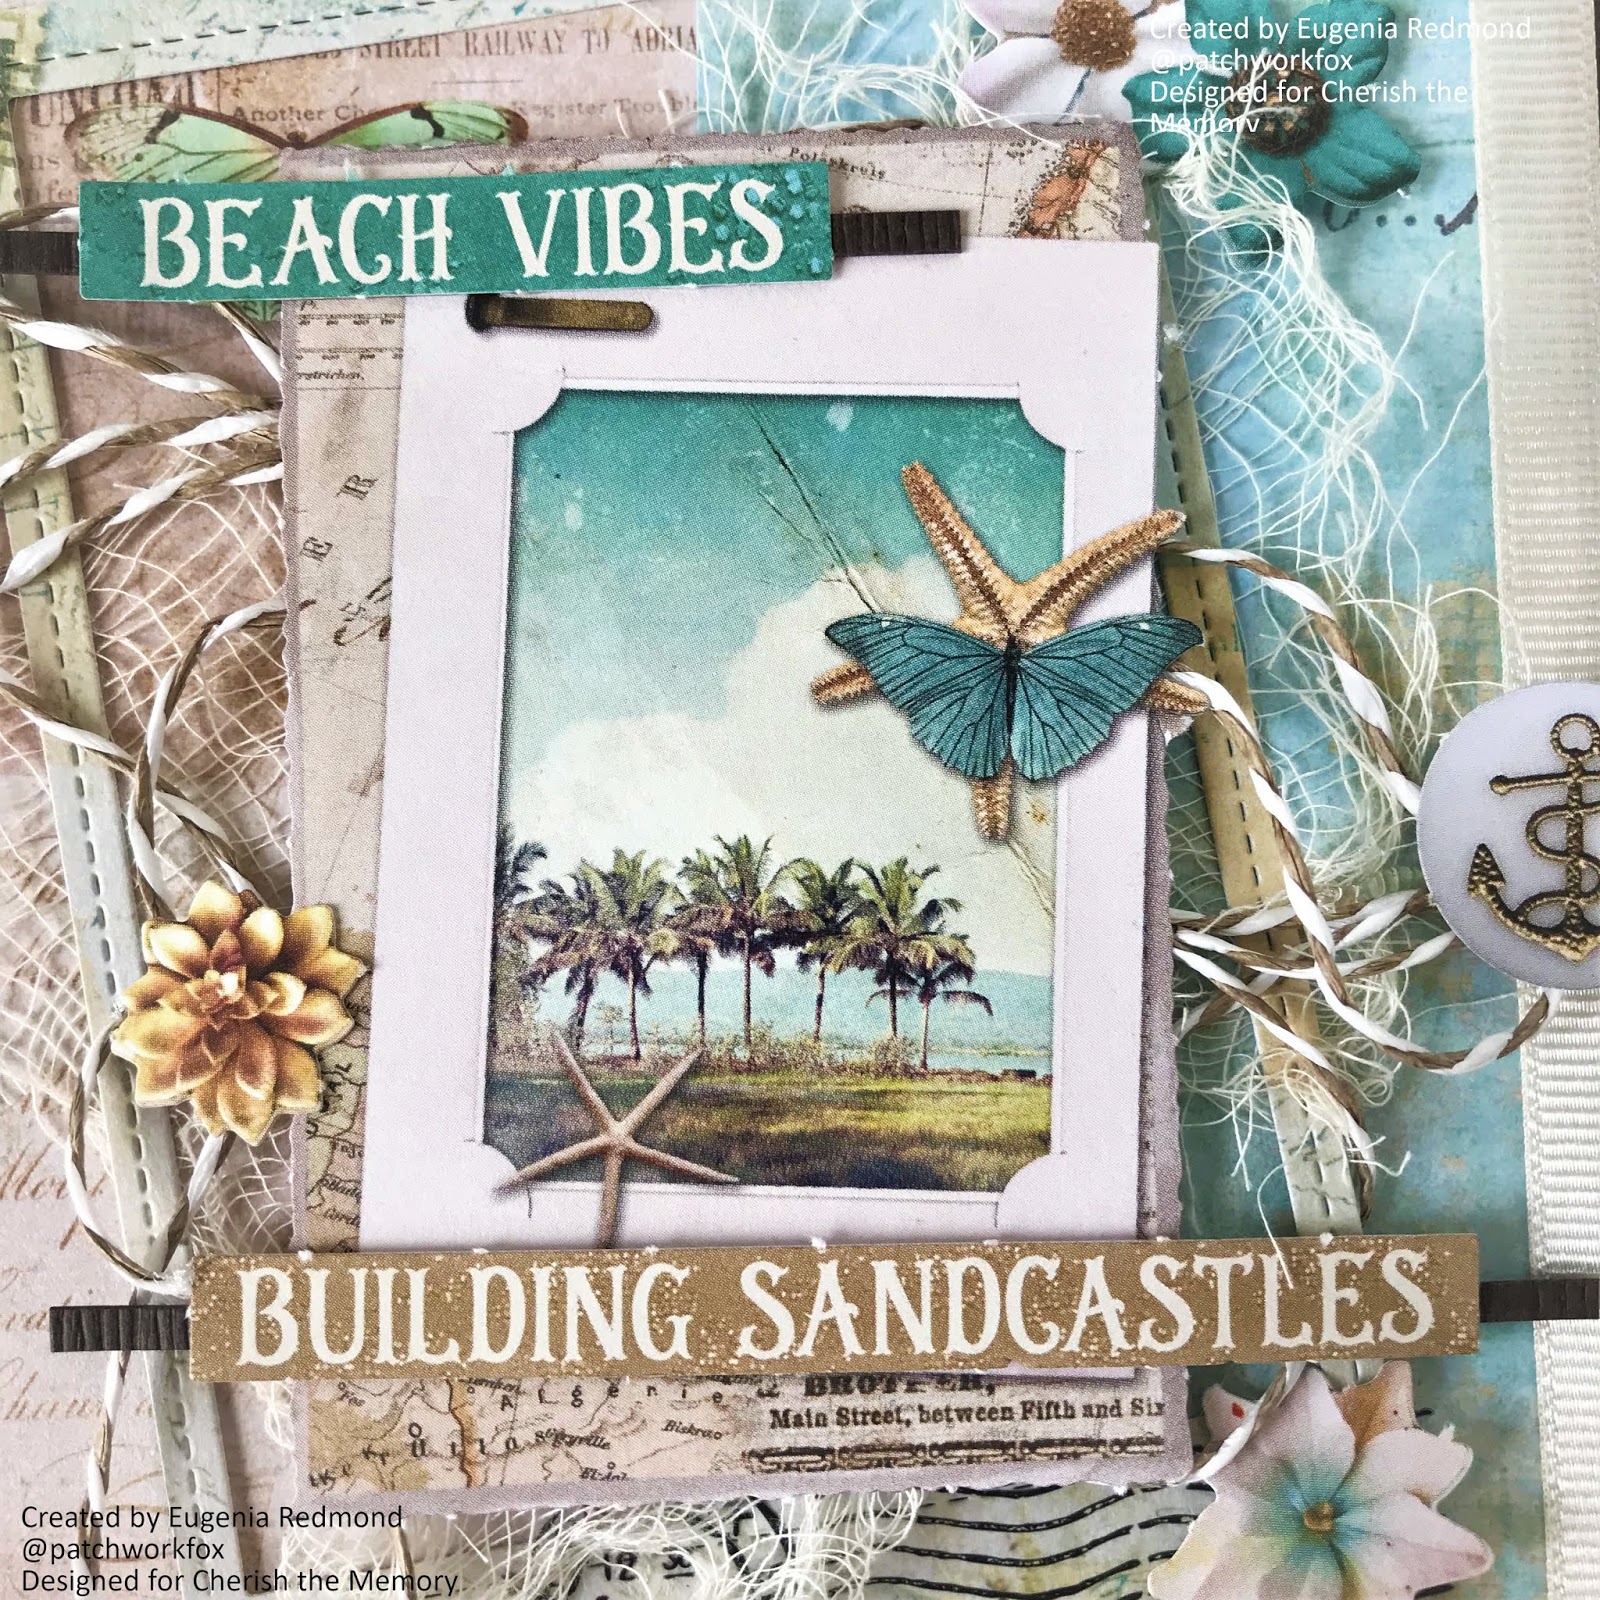
Tropical Summer themed Card for Cherish the Memory


 An Inspirational "Getaway" card
using Studio Light "Memories of Summer" Paper Collection


An Alternative to Post Cards


Most people send postcards from exotic places they are visiting when it comes to a tangible card form, but the reality is most of us nowadays use social media to share pictures of family at the pool or if you are travelling solo, pictures of your toes in the sand. Personally, the only time I have ever sent a postcard to someone is when they requested one, but I felt like it lacked something. Sure, it's perfect when you want something fast and simple to buy, but what if you were a crafter and wanted to make something a little more memorable? 

Cherish the Memory sells these fantastic 3D pre-die cut ephemera pieces that literally require just your hands to punch out! Meaning, you have the choice of bringing a few pages with you for some tropical crafting fun or a quick crafty make for when you come home from vacation, need some crafty time and or don't feel like unpacking just yet. The links to what you need to make this card is listed below.


Layering for Photos

What I love most about these ephemera pages is that there's quite a variety of ephemera that resemble photographs, which you can easily use as a decorative item on your card or for an easy way to layer a real photo on top of, to create dimension. I particularly liked the "Building Sandcastles" sentiment, because it brought me back memories of my childhood where my mom bought my sister and I pails and shovels to use on the sand at the beach...perfect for when you have photos of some fun in the sand!


Last not but not least, the flowers. There is a generous assortment of die cut flowers to choose from and these were particularly lovely as they were of the tropical kind! A great way to add a tropical or feminine touch to any card depending on how many you choose to use. There is no limit!

I hope you have enjoyed my post. The links to these Studio Light papers are linked below!

Cherish the Memory Store


Thursday, July 19, 2018

Simple Travel Themed Masculine Card


Creating a simple yet eye pleasing Masculine Card using Studio Light Paper from Cherish the Memory


If you're anything like me, you're drawn to floral, feminine, colorful designs which can sometimes pose a challenge when making a card for a man, or for a female friend who isn't into "girly" designs as you are. The "Memories of Summer" collection that you can purchase at Cherish the Memory really takes the guesswork out of picking and choosing paper for your masculine card. What is so great about this collection is that it has a good balance in range, therefore really allowing you to make both masculine, gender neutral and feminine projects without having to buy several collections!


My favorite part of the collections by Studio Light are the paper pads, which I will be providing the link to below. I love the paper pads because it comes jam packed with backgrounds, but you see that you don't have to use the backgrounds just for backgrounds. If you look at the three rectangular paper pieces, they have been die cut from the paper backgrounds in the pad to create the layering effect where I used foam mounting tape.

What I love most about this card is the use of neutral warm earth tones. Stick with natural colors such as browns and tans to get down the color scheme for a masculine card. I knew as soon as I saw the lighthouse from the ephemera pack that I would be using it, it's so pretty! The vintage plane stamp was also a really cool feature in the ephemera pages which I will also link. 

Some tips that helped me put this card together :
1. Use earth tones such as browns, tans, grays, greens and blues
2. Take items from your stash that you have found yourself neglecting and throw things together to see if they complement the card. The background paper has a wooden grain texture which I had no plans for, until this card came up!
3. Jute adds a great natural element that is gender neutral. Texture in masculine cards is your friend.
4. Keep the design simple. I struggle with simple design but simple and clean is a must to achieve that perfect look. Masculine details can be pretty powerful, and you want them to speak for themselves and not overwhelm the card or viewer.
5. It helps to choose a 5x7 layout for a masculine card, the linear layout helps create a stronger card.

I hope you found some inspiration and ideas! Check out the Cherish the Memory shop for the collection:  


Friday, May 4, 2018

"Collect Beautiful" Moments Beginner's Card Tutorial for Cherish the Memory

Simple and Easy Card using LemonCraft Papers
available at Cherish the Memory 


Hello! Welcome to my blog! Today I am sharing with you how to make this pretty, yet fast card I made with these romantic vintage papers by LemonCraft. You can make this card in less than 20 minutes. (Links to Cherish the Memory listing to purchase)

Materials:

White Cardstock
Scoreboard
Paper Trimmer
2 Paper Doilies
Scissors
Nuvo Crystal Drop Bubblegum Blush (suggested)
Tim Holtz Idea-ology Stickers 
LemonCraft Gossamuer Blue Pad
Mini Tag + Twine 
Foam Tape
Double Sided Adhesive
Optional : small oval craft dies (I used SpellBinders)


Instructions 

  1. Take white cardstock, trim and fold to make a 5x7 card base.
  2. Take the blue white lace floral paper from the Gossamer Blue Pad and trim to 4.5 x 4 3/4 inches.
  3. Take a tan, blue floral scroll paper from the Gossamer Blue Pad and trim to 1.5 x 4 3/4 inches.
  4. Adhere the blue white lace floral paper to the card base.
  5. Take 1 of the paper doilies (an intricate round die cut from white cardstock can be substituted) and adhere to the bottom of blue background paper with only three quarters on the blue paper and the rest can be trimmed off or left (will be hidden).
  6. Have fun choosing the ephemera from the fussy cut pages, such as the floral boquets and choose 3 tickets total for the layering. Once fussy cut images are cut or die cut and tickets add foam tape to the back and layer. 
  7. Layer in a fan style, so that the tickets and ephemera line up along the bottom edge of the blue background paper, but position the bottom pieces a bit lower so that they look like they are coming out of a pocket. Have fun positioning the floral pieces according to your tastes and adhere half of a second doily on top once finished as shown in the picture.
  8. Take the tan floral scroll paper strip, apply mounting tape to the back of it and adhere to the bottom of the card. Apply your chosen sentiment and decorate your card with enamel drops of your choosing. 
  9. Enjoy! 

Make sure to shop the LemonCraft collection at Cherish the Memory! 
Specific links are linked in the materials list.


"Wrapped in Adventure" Layered Card for Cherish the Memory

Layers and Distressing  Using Studio Light's Paper Collection "Memories of Summer" Creating Layers Do you ever ...